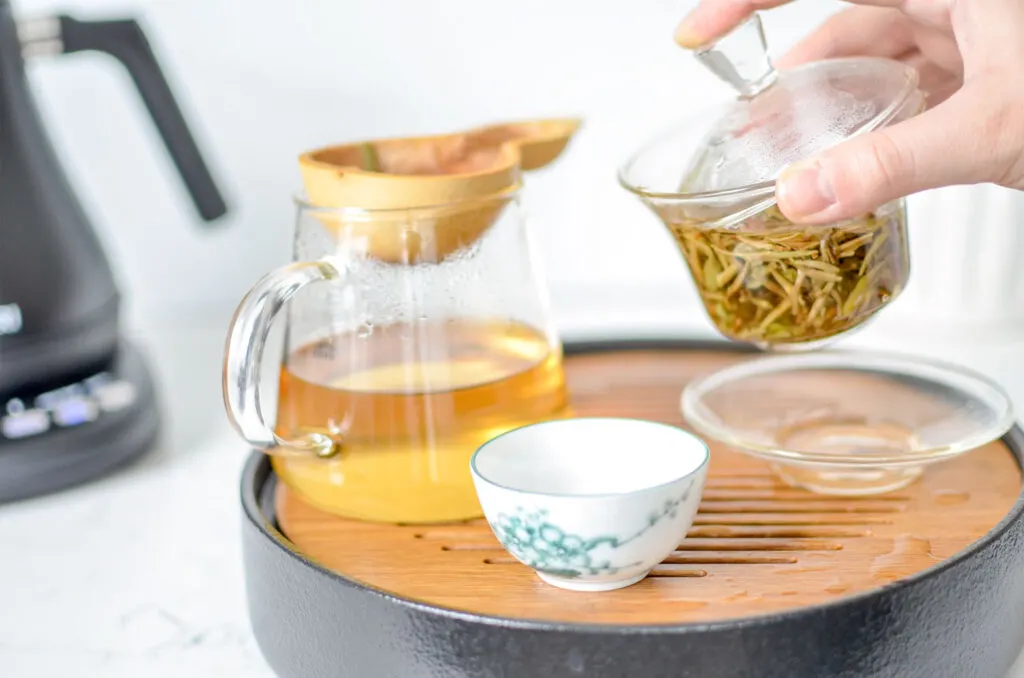
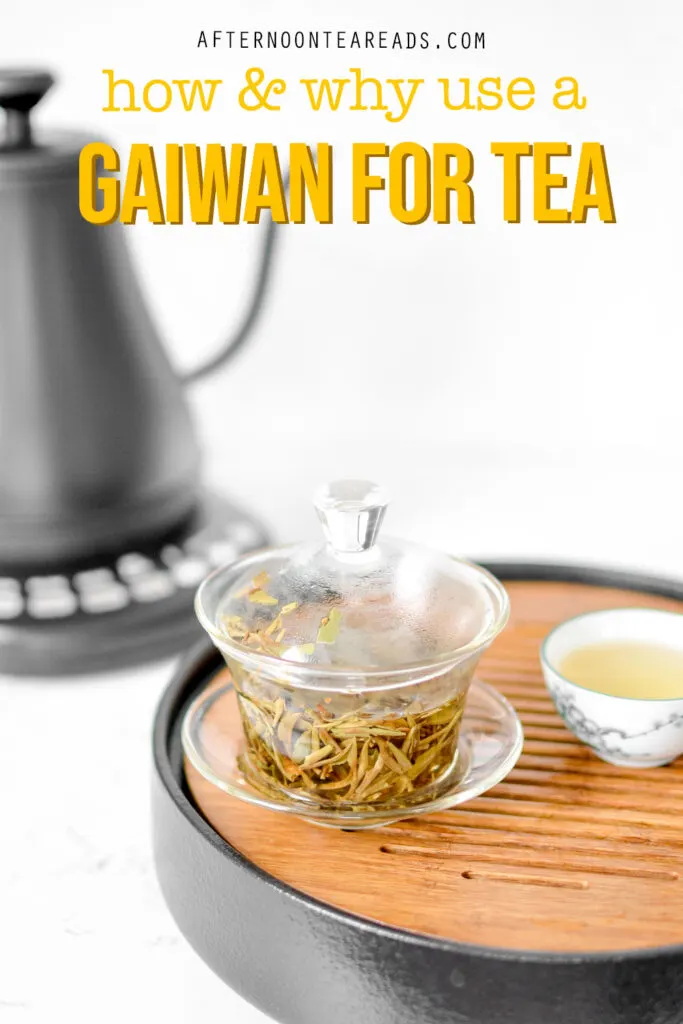
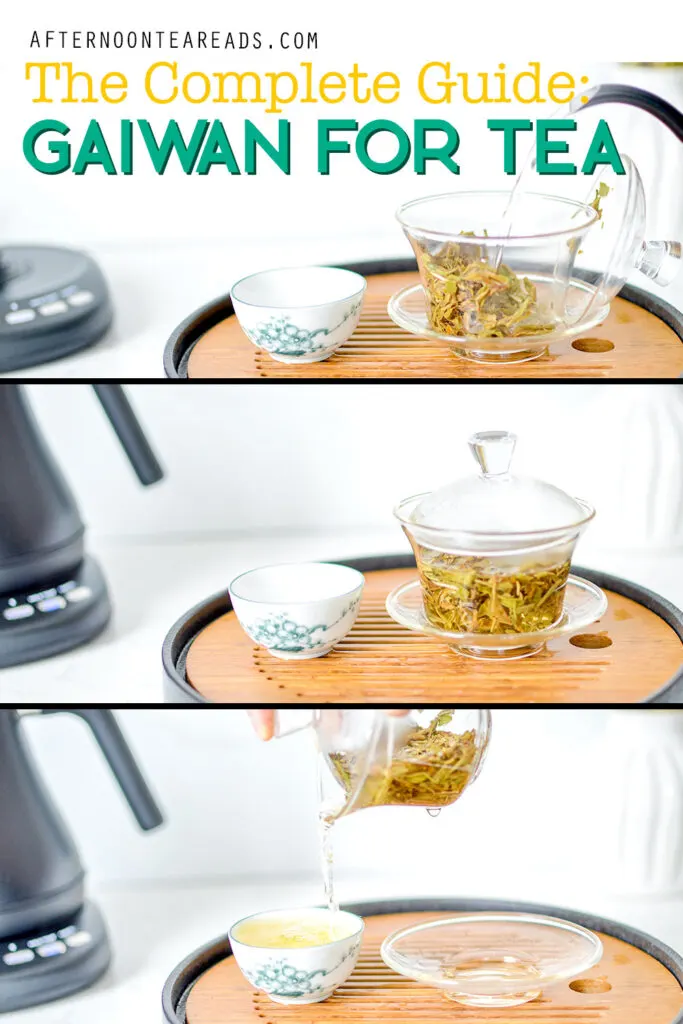
A gaiwan is a traditional Chinese teapot used to taste and drink tea. It can be part of the Chinese gongfu cha brewing method or it can be used on its own.
I only recently made the leap to buy a gaiwan (and the full gong fu cha set), and I wish I had done it sooner. It’s quite possibly the best way to enjoy tea, and should be the next step on your tea tasting journey.
This is everything you need to know to brew tea with a gaiwan teapot.
Psst! This blog post contains affiliate links in it which sends me a bit of extra money if you use them… at no extra cost to you!
First, What’s A Gaiwan?
A gaiwan is a type of Chinese tea pot that dates back to the Ming Dynasty. In mandarin, gaiwan literally translates to covered bowl (Gai – Lid, Wan – bowl). And that’s exactly what it is.
A gaiwan can be used as part of the Chinese gongfu cha brewing method, but it can also be used on its own as a way of steeping tea.
It’s important to note that using a gaiwan is not ceremonial at all (unlike a Japanese matcha ceremony).
With this brew method, tea leaves are added directly to the gaiwan without using any strainers. It is all about multiple (and quick) infusions that uses a higher tea to water ratio.
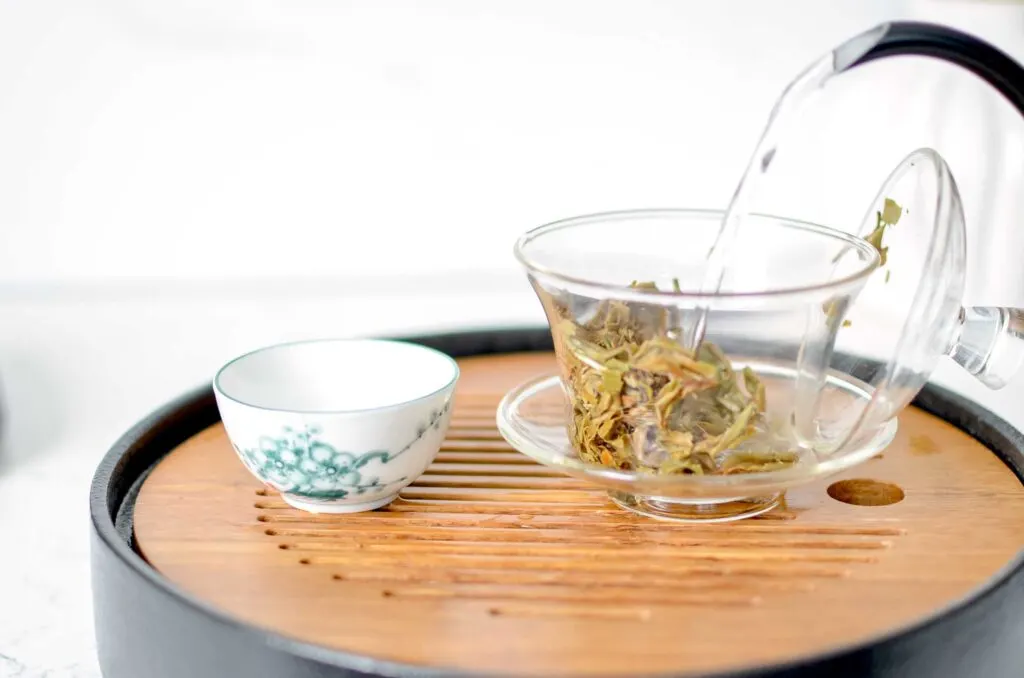
Why Use A Gaiwan Teapot To Brew Tea?
I really enjoy using a gaiwan teapot because it offers a lot of control, and helps you taste and appreciate each tea a lot more. It’s not about precise timing, or measurements, but more about feeling the tea!
It adds so much more flexibility to your steep, similar to Grandpa style tea brewing because you aren’t using any strainers. This allows you to add more tea or take out as you steep. Unlike grandpa style tea though, you actually stop the infusions by pouring out the water into a teacup.
A gaiwan teapot also for easier tea tasting. You can smell the gaiwan lid and the cup for aromas. And because it’s based around short infusions, you’re able to see how the taste, smell, and even the look of your tea changes over time.
Aside from tasting tea, I really enjoy using a gaiwan because it allows me to take a step back in the middle of my day to focus on something else.
Instead of boiling water, adding a tea bag, and getting back to whatever it was I was doing, I’m able to relax with my tea for a while. It allows me to be present in the moment and really notice the tea I’m drinking for a change.
I really enjoy the whole process of gong fu cha as well (if you decide to invest in the entire gongfu cha set read more about the Chinese tea session!).
What You Need To Brew Tea With A Gaiwan
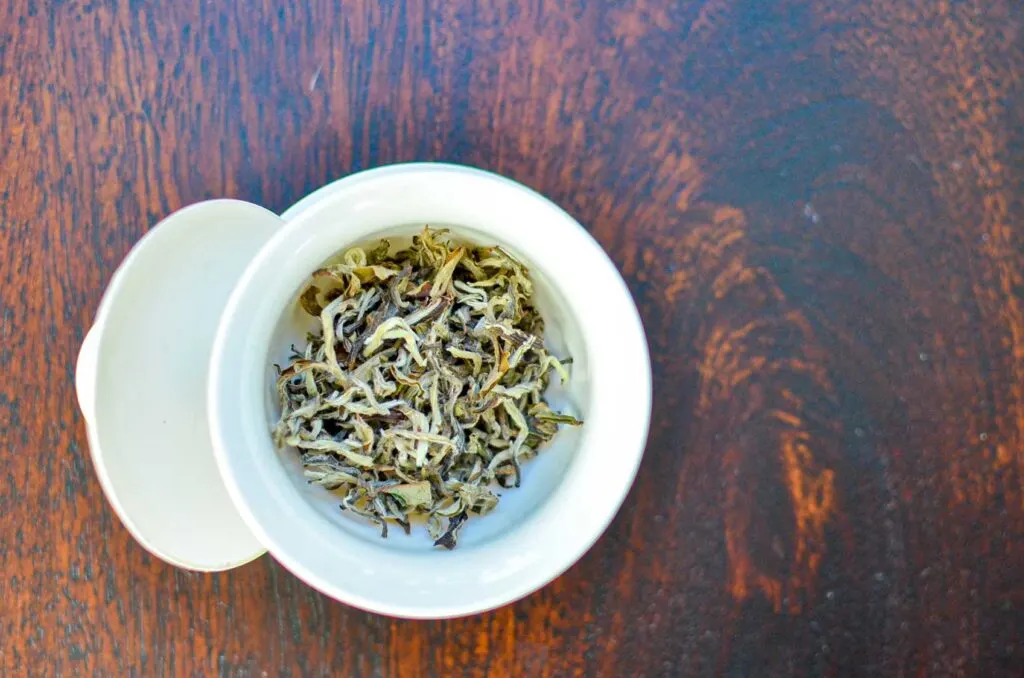
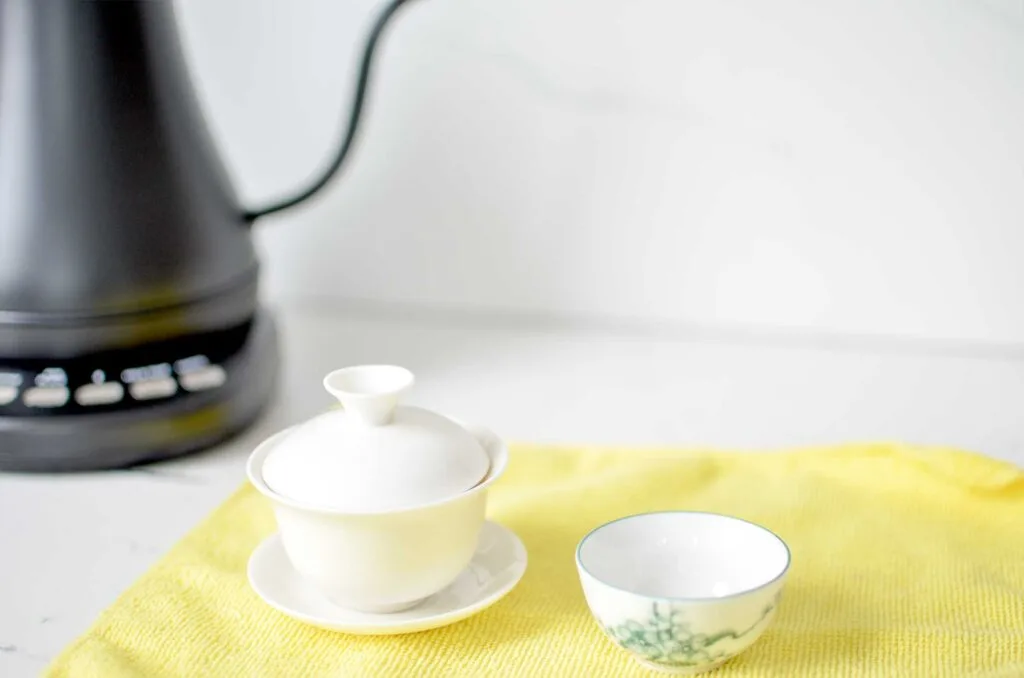
The only thing you really need to brew tea in a gaiwan is your primary tea vessel, which in this case will be your gaiwan teapot.
A Gaiwan doesn’t have to be expensive either, I got mine from Camelia Sinensis (A Montreal based company), but you can find them on Amazon as well.
You will also need a small teacup (Chábēi – tea cups, or Pin bēi – tasting cups) to pour your tea into once it’s steeped. This can be a small porcelain cup, or I actually prefer using mini double walled mugs to keep my tea warm and my fingers burn free. But again, you can use any cup that you have at home.
Those are the two main things you’ll need to brew tea with a Gaiwan. Or you can get a few more things…
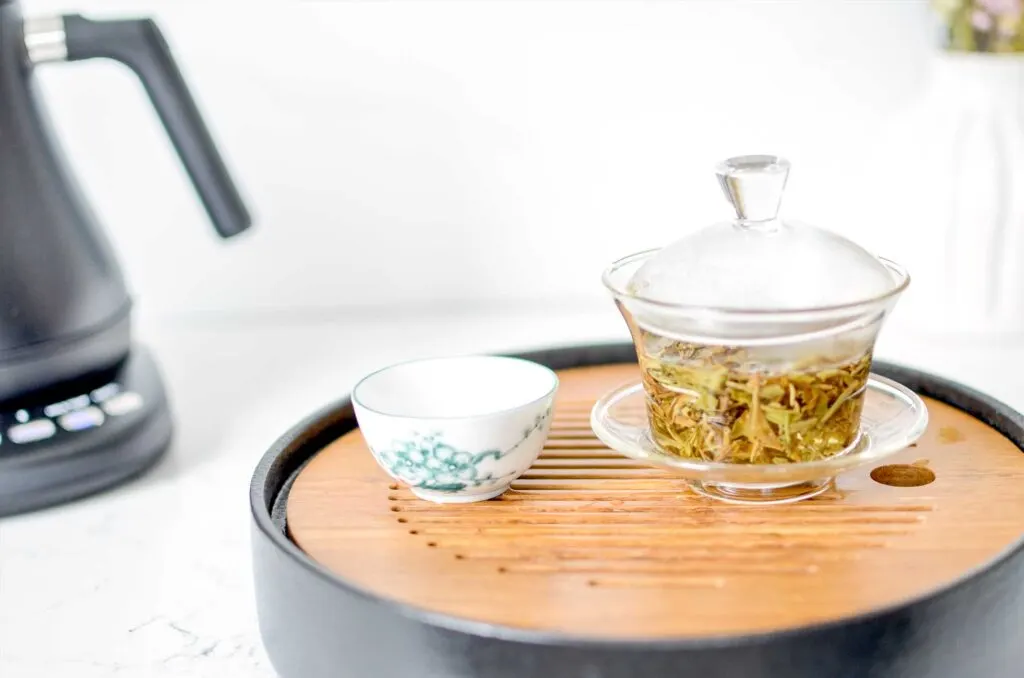
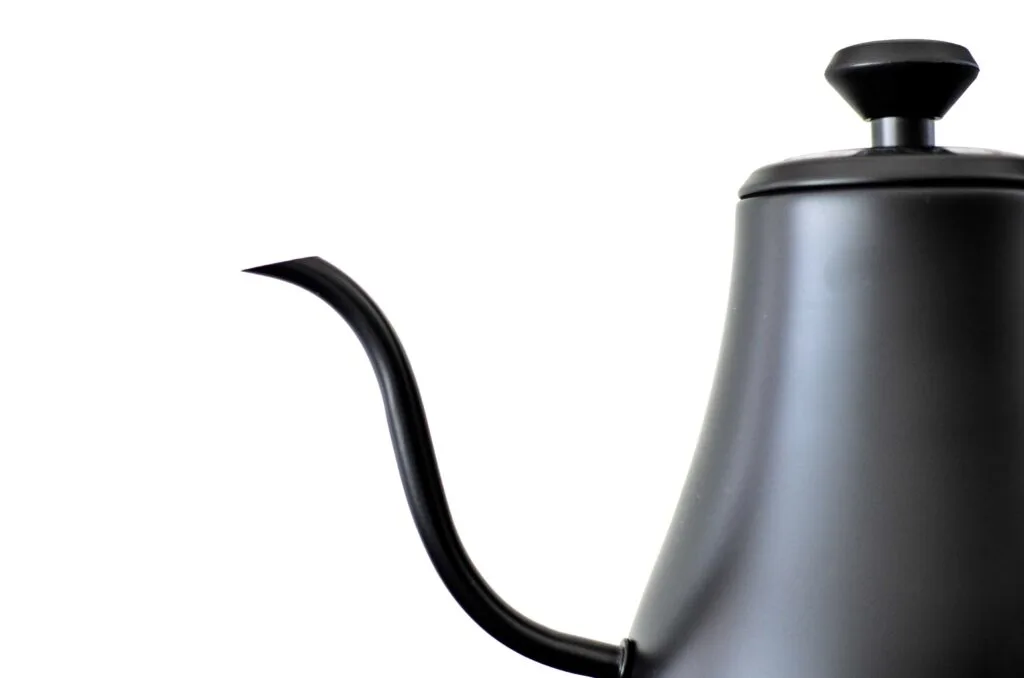
Temperature Controlled Gooseneck Kettle
If you’re using your gaiwan for different types of tea (not just black tea) you’ll want to invest in a kettle that can heat up water to different temperatures.
Each type of tea has an ideal temperature for optimal steeping – otherwise you risk burning the tea leaves.
A gooseneck kettle will give you more precision when pouring water over your tea (there are specific ways to pour the water to make your tea move in a specific direction, which I cover later on).
The most popular temperature controlled gooseneck kettle is the Fellow Stagg EKG Electric Kettle (or see it on Amazon here). Although this is definitely pricey, a good option at a more reasonable price is the Cosori Smart Electric Kettle.
For more electric kettle options for tea, read my post.
Scale
There are no strict measurements for how much tea to use in a gaiwan teapot. But you can follow weight measurements when you’re just starting out to get a feel for how much you like. This way, if it was too much, you can easily reduce the amount for the next steep (or vice versa).
I like this digital scale from Amazon (see a similar one on Amazon.com).
These are the amounts that I found for each type of tea (per 100 ml)
Green & Yellow: 3 – 3.5 g
White: 3.5 – 4g
Black: 4 – 4.5g
Oolong: 4.5 – 5g
Pu’erh: 5g
Ball Oolong: 6 – 6.5g
Tea Tasting Notes & Guide
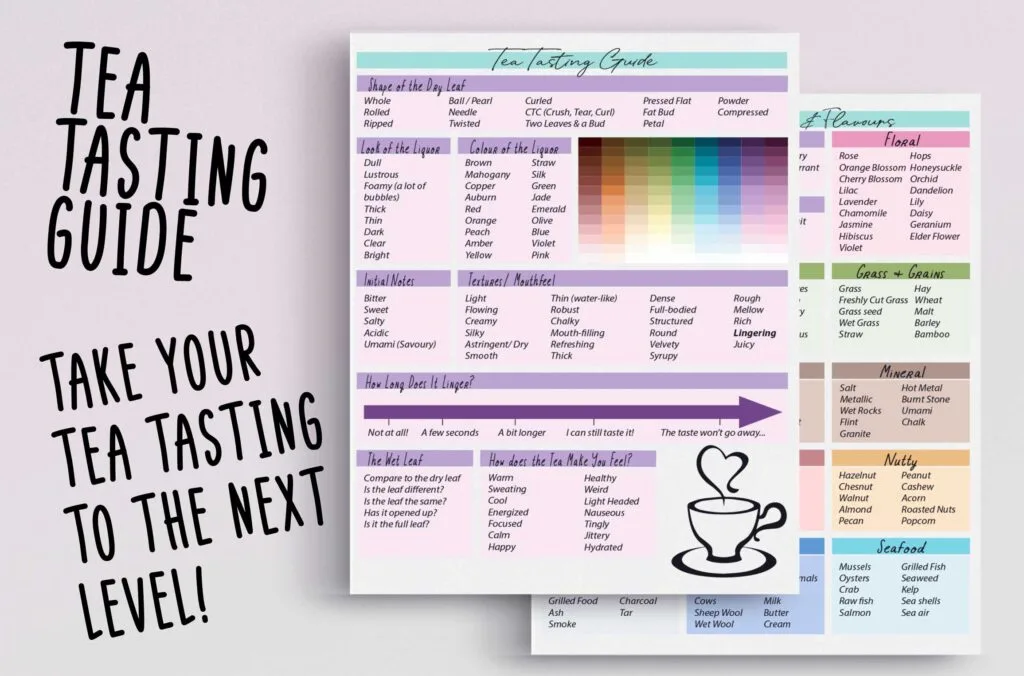
You might be interested in my digital and printable tea tasting notes & guide to take your tea tasting to the next level. See it on Etsy.
Tea Tray Or Tea Boat
There’s no hiding it – when you brew tea with a gaiwan, it’s messy! Be prepared for some spillage when pouring water into and out of your gaiwan!
So to handle the mess, invest in a tea tray or a tea boat. This will catch any water that you spill.
While it’s not required, it’s definitely helpful in avoiding a big mess. Sometimes I even just use a tea towel underneath instead.
A Tea Strainer
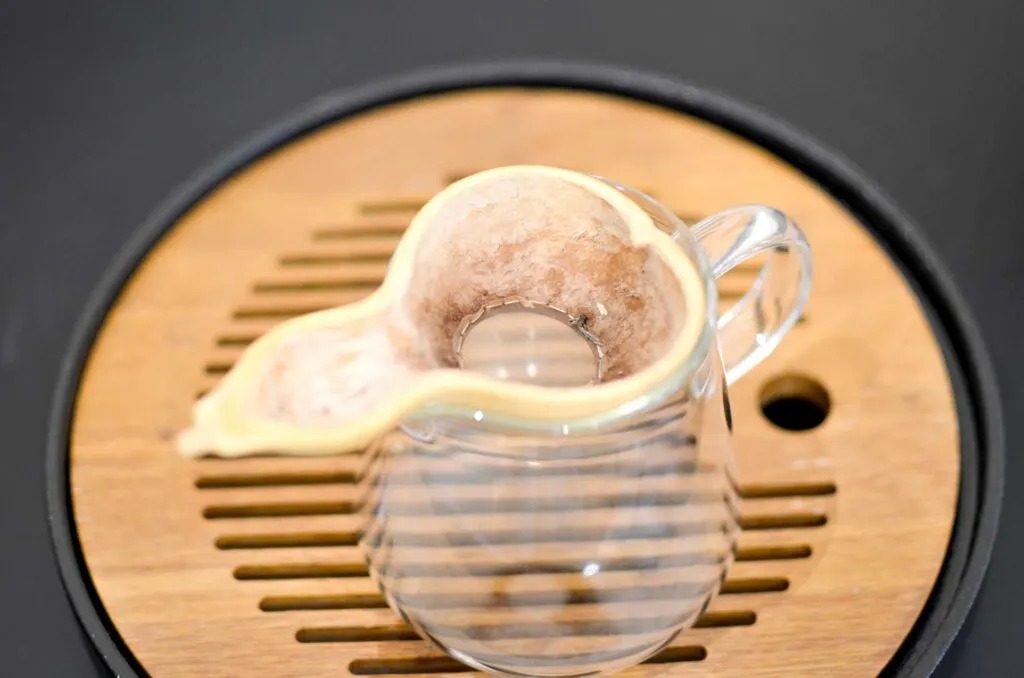
This is another optional tea accessory to brew tea with a gaiwan. Obviously, you won’t be using any steeper in the gaiwan teapot – your tea is loose in your vessel.
When you pour your tea into your teacup, some small tea leaves might get through the gap of the gaiwan lid – this is normal. If it bothers you though, you can opt to use a strainer to catch any stray tea leaves.
Just place it over your teacup before you pour.
Alternatively, you can just dispose of what’s left at the bottom of the teacup. Sometimes I just pour it right back into the gaiwan for the next infusion.
What To Look For When Buying Your First Gaiwan
You can just choose a gaiwan teapot purely based on aesthetics – that’s kind of what I did for my first one because I didn’t really know what I was looking for.
But! There are a few things that you should consider before buying…
The Size Of Your Gaiwan
There are different sizes of gaiwan teapots from small to large, to tall and narrow!
You’ll want to consider the size of your hand, but also how much tea you want to steep each time. They range from 100 to 200 ml. If you’re serving a few guests, you might want a larger one. If it’s just for you, a smaller one should suffice.
If you’re able, it’s always best to try out a gaiwan before buying it to see how the size feels in your hand first.
What Material Should Your Gaiwan Be?
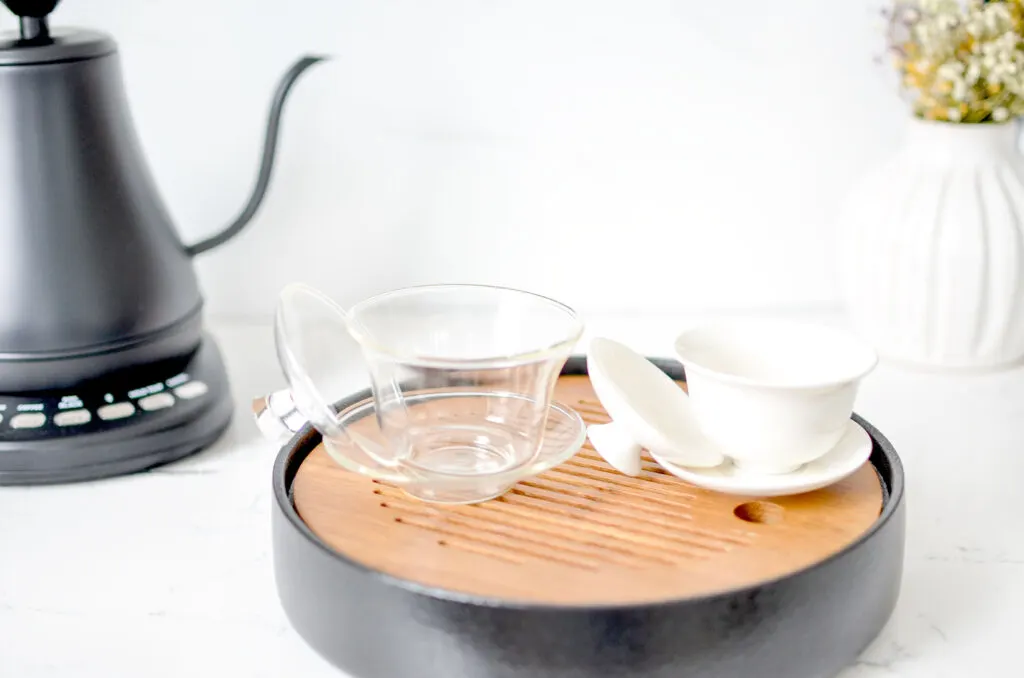
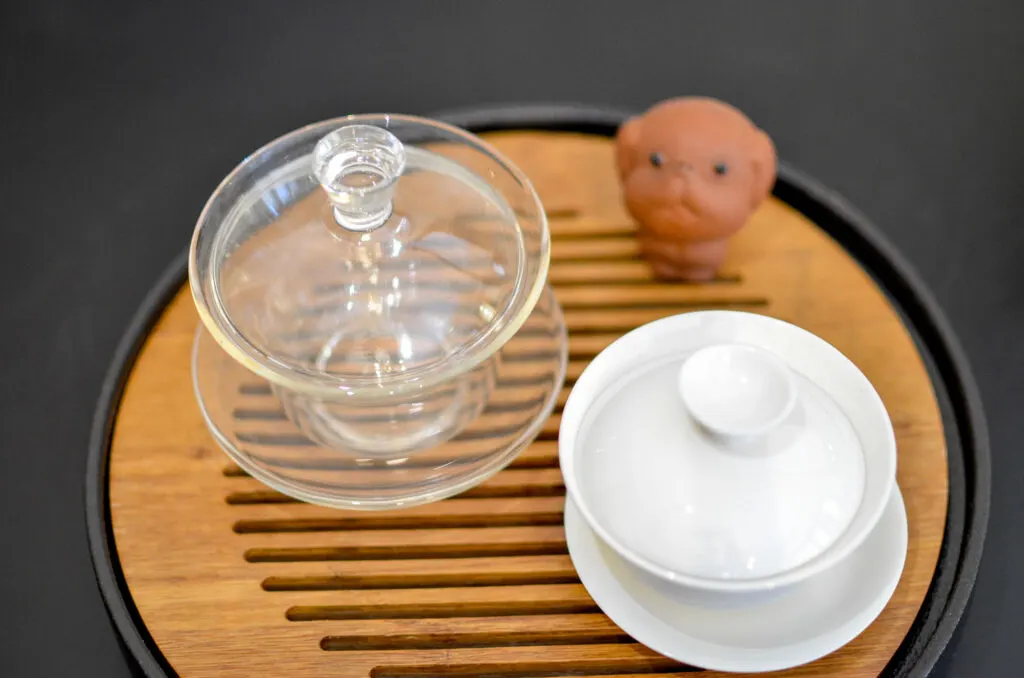
Gaiwans can be made of glass, porcelain, and even clay!
If you’re interested in seeing the colour of the brew and the tea leaves, a glass Gaiwan is always fun. But this will be the least heat resistant of all the materials (it will heat up the quickest). So, I wouldn’t recommend a glass Gaiwan for black teas (or beginners… I made that mistake!).
Porcelain is the most common material used to make a gaiwan teapot. You’ll want one that is white inside to be able to see the colour of your infusion.
A clay Gaiwan will be the most heat resistant but also the heaviest (so it’s harder to hold in your hand). Plus, these typically do not come in white – making it harder to see the colour of the tea liquor once steeped.
Extra Considerations For Beginners
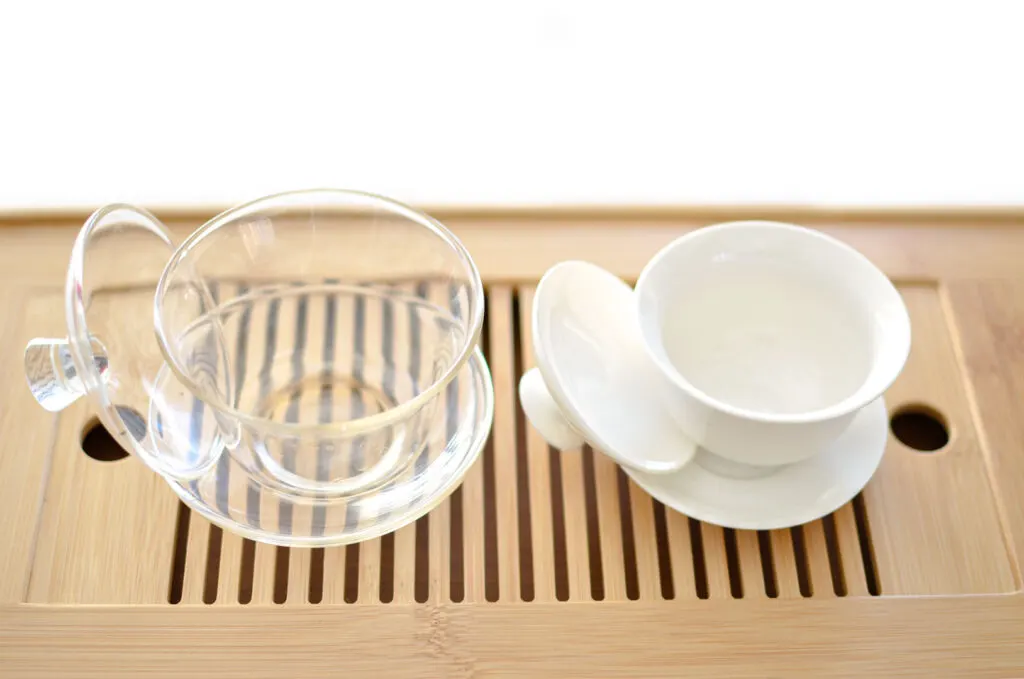
Try to look for a gaiwan with a taller lip (edges). The lip is the part that goes above the lid when covered. The taller it is, the cooler it will be to hold (the heat takes longer to rise).
P.S. The Lid Won’t Sit Perfectly On the Gaiwan Most Of The Time…
They are made this way. If you want a better seal when steeping, you can cover it with hot water.
How To Hold A Gaiwan (& Pour Tea!)
Holding and pouring from a gaiwan will take practice! I still can’t do it like the pros, but I feel like I’ve definitely improved. I used to burn my fingers every time – now it’s only when I forget about the tea and let it steep for too long… oops!
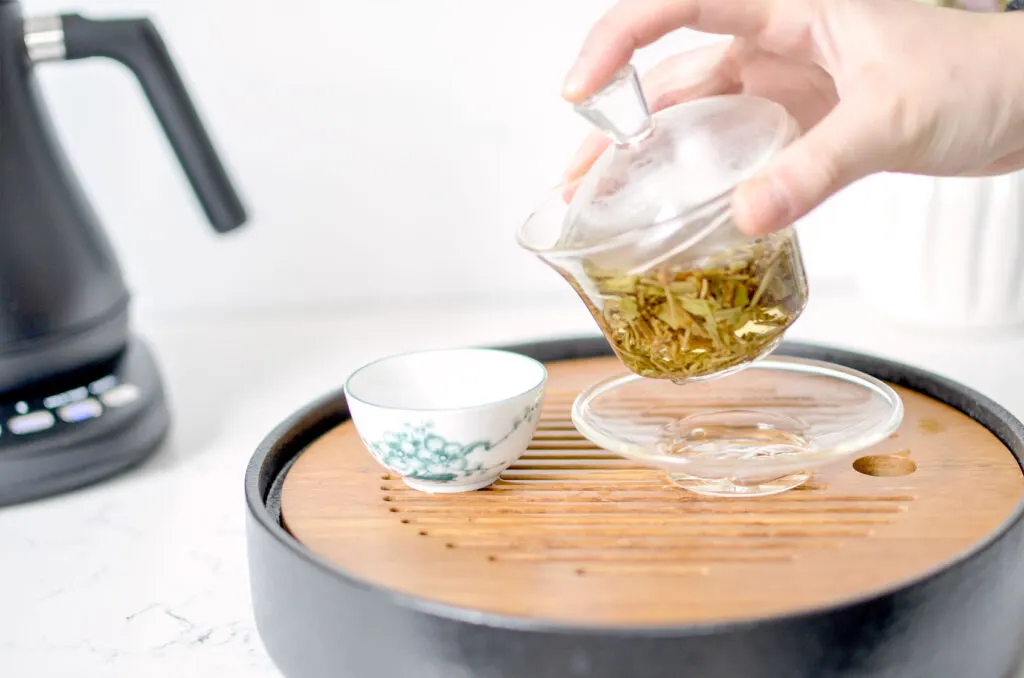
You want to move the lid slightly to create the smallest crescent moon gap between the gaiwan and the lid. This is where the water will come out, and the lid will hold your tea back.
Before you ever put hot water in your gaiwan, try holding and tilting it without anything inside. Once you think you’ve mastered the grip, add cold water and pour. There’s no need to rush this process. And finally, once you’re comfortable with the grip you’re ready to brew tea with a gaiwan!
There are a few ways to hold a gaiwan, but none are ‘the right way’. If you can tilt it and pour tea out, then it works. Find the grip that you’re most comfortable with.
The 4 Recommended Ways To Hold A Gaiwan
There are 4 common ways to hold a gaiwan teapot. Like I said, try them all out see which one you like best. But at the end of the day, it doesn’t have to be any of these.
I have small hands, so I opted to buy a smaller gaiwan and use the double handed hamburger grip at the start. I then went to a single handed, and now I’ve actually graduated to the single handed goosehead grip and a larger gaiwan (only slightly larger!).
As long as you aren’t burning yourself, and you’re getting tea into the cup, you’re pouring properly!
Goosehead, Yin Grip, Overhand Grip
This is the most popular and ‘elegant’ grip.
You’re going to set the opening of the gaiwan directly in front of you.
Using your thumb, index finger, and middle finger, hold it out like a claw to grasp the cup and the lid. Your thumb and middle finger will be lightly grasping the edges (lip) of the gaiwan.
Remember – lightly gripping! They’re simply holding it in place, but you don’t want to hold it too tightly, otherwise it will get very hot very fast!
Your index finger will be doing all the heavy lifting. It will hold the lid in place while you tilt the gaiwan away from you. It should lay flat on top of the point – merely holding it in place.
There are a few variations as well. You can tilt the gaiwan to the side instead of in front of you. This is known as the side overhand grip.
Or, if you have enormously large hands, you can also opt to hold the saucer with your thumb and middle finger. This will obviously be the coolest option for your fingers – I don’t even dare attempt it though.
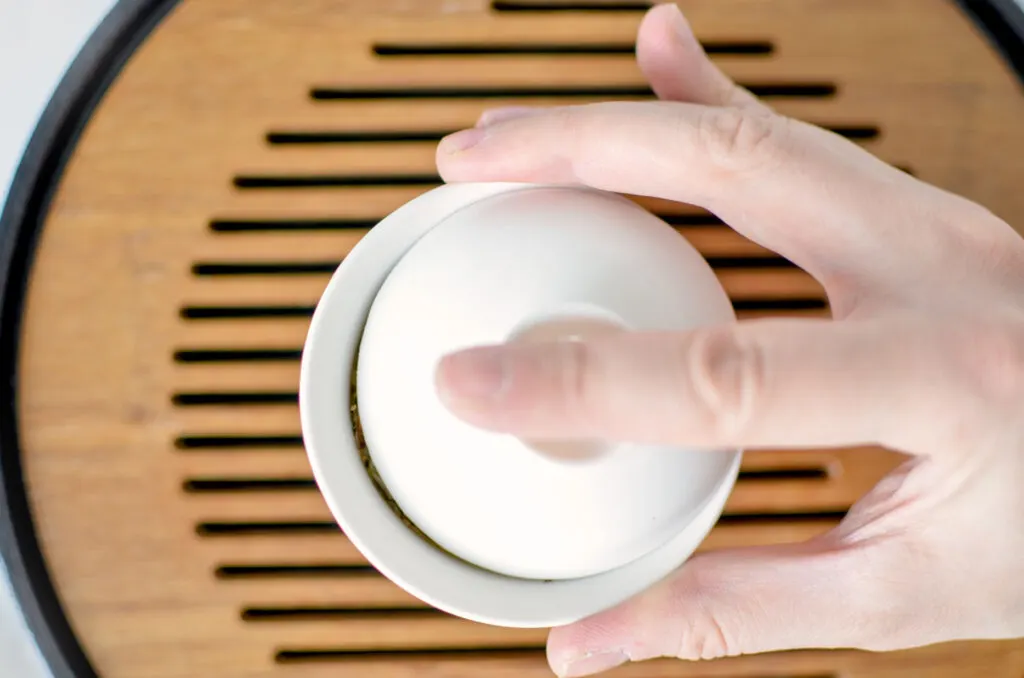
The Farmer Grip
The farmer hold is similar to the goosehead grip. You’re using the same three fingers and holding it in the same way.
The only difference is how your index finger holds the top of the lid. Instead of laying it flat on top of the point, you’re going to use your knuckle or the tip of your finger.
You may notice that most gaiwan lids have a divot in the centre of the lid point. This is where your index finger rests to hold the lid in place.
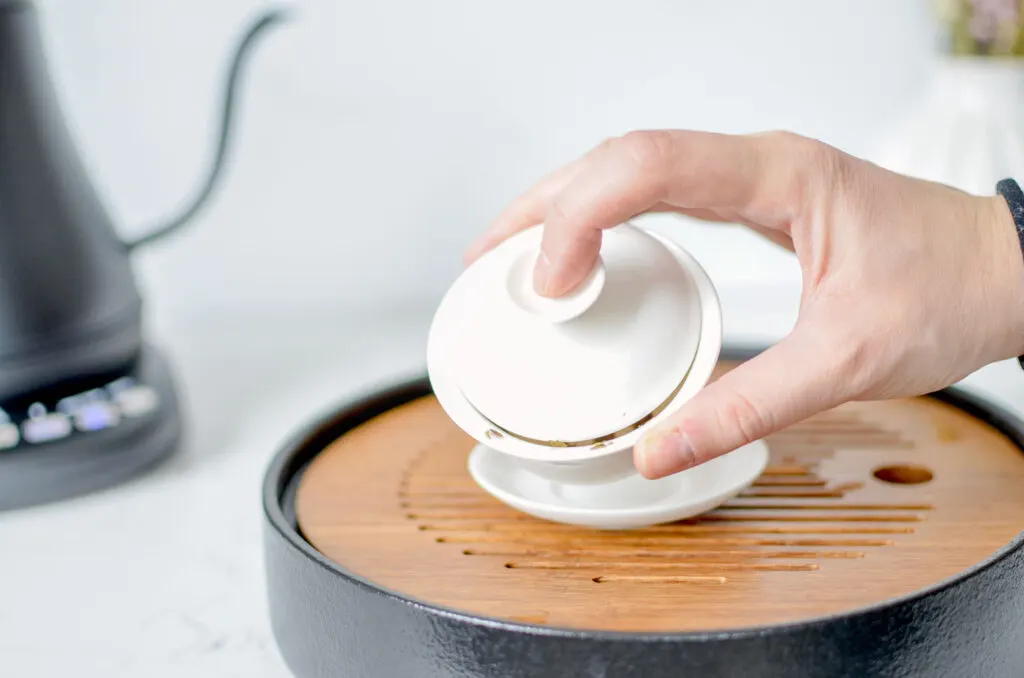
Hamburger Style Grip
The hamburger grip is the best gaiwan tea grip for beginners – don’t try to impress anyone with a one handed grip just yet. There’s no shame in using a two handed grip, and it’ll just make your life easier!
This grip is exactly what it sounds like – hold your gaiwain like you would to eat a hamburger (or veggie burger!). Place the gaiwan and cup directly in front of you (with the cup in front of your gaiwain).
Pick up the gaiwain (if it’s easier to hold it with the saucer you can – it will be less hot if you do!). Your index fingers will be underneath the gaiwan (or saucer), and you’ll use your thumbs to hold the lid in place. You’ll tilt the gaiwan towards you to pour it out.
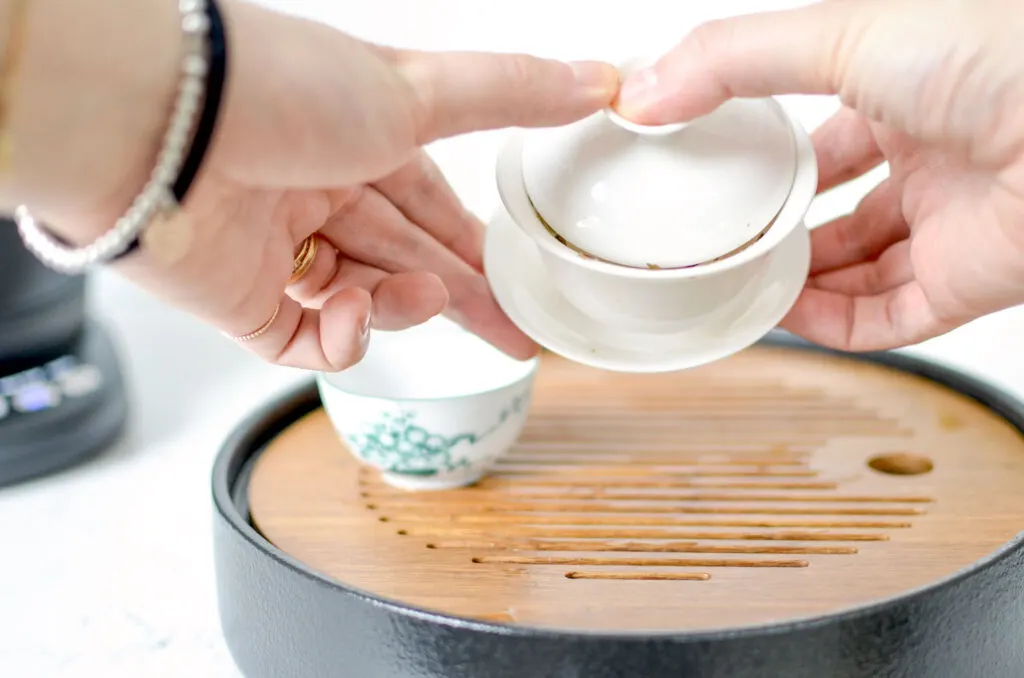
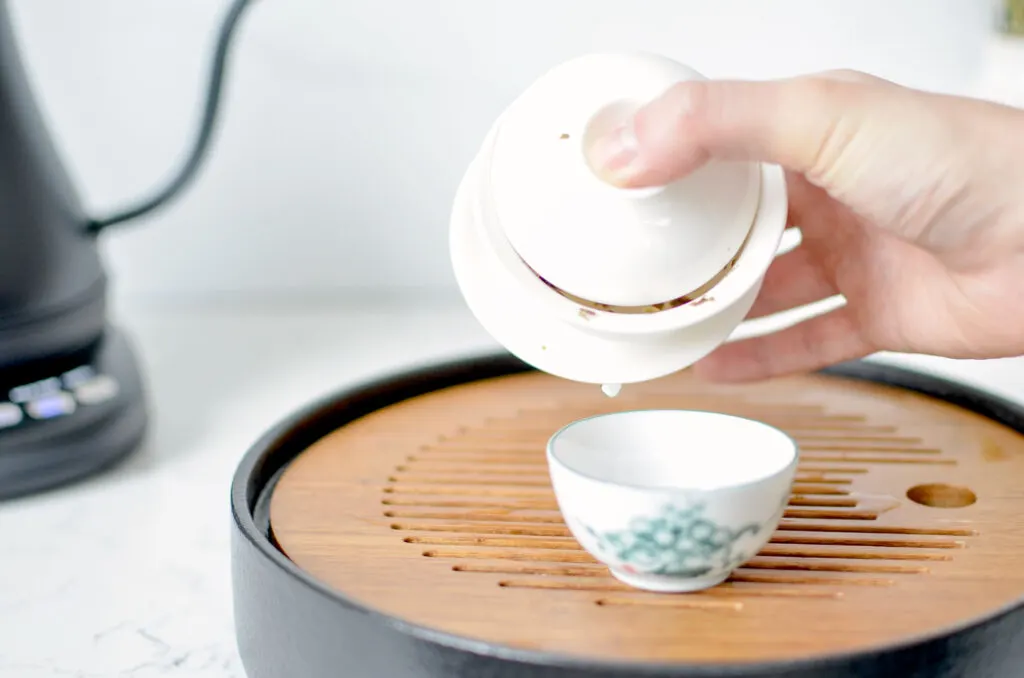
The Stack Grip
The stack grip is a one handed hamburger grip…
Open up the gaiwan lid to the side, pick it up with your index finger and thumb. Your index will be underneath the saucer and your thumb will hold the lid in place.
Just make sure that you leave space for the hot air to leave so it doesn’t go straight into the palm of your hand (trust me, it gets real hot, real fast!). So make sure your hand is on the side of the opening.
You might also be interested in reading…
Bonus! Traditional Style (Chung Do)
If you want to give it a try, you can drink directly from the gaiwan– no teacup necessary! This is actually the traditional way to use a gaiwan Chinese teapot.
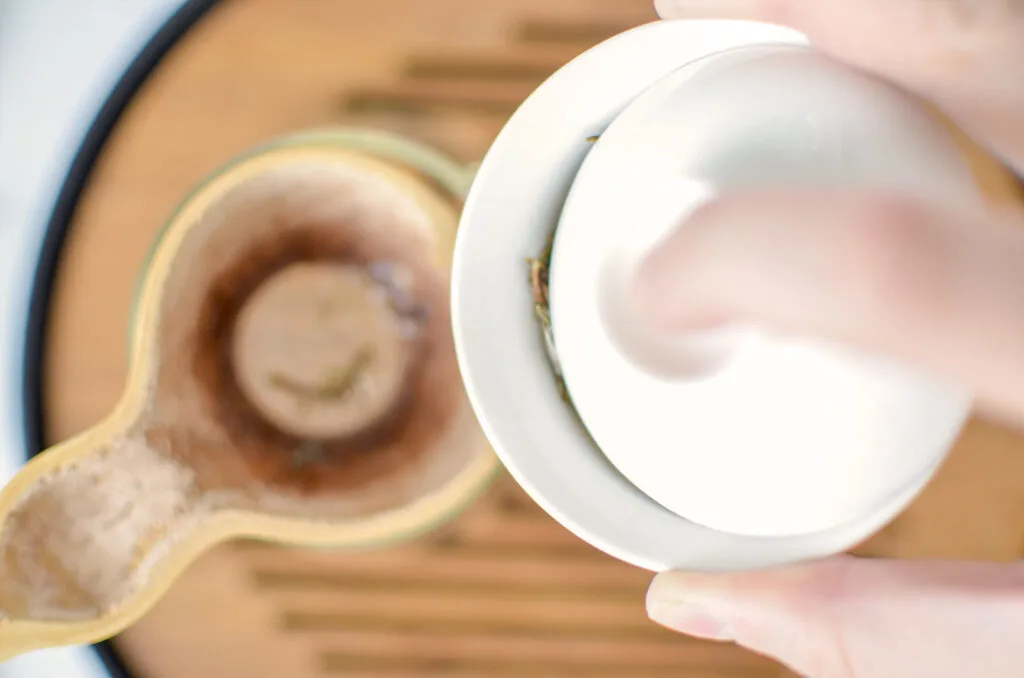
To drink straight out of the gaiwan, pick it up (with the saucer) with one hand. Bring it directly to your mouth. You’ll use your other hand to hold the lid in place. The lid will act as your strainer, keeping the tea back as you drink.
I’ll be honest, I haven’t tried this method yet. I’m a bit scared that I’ll burn my lips and ingest a lot of tea!
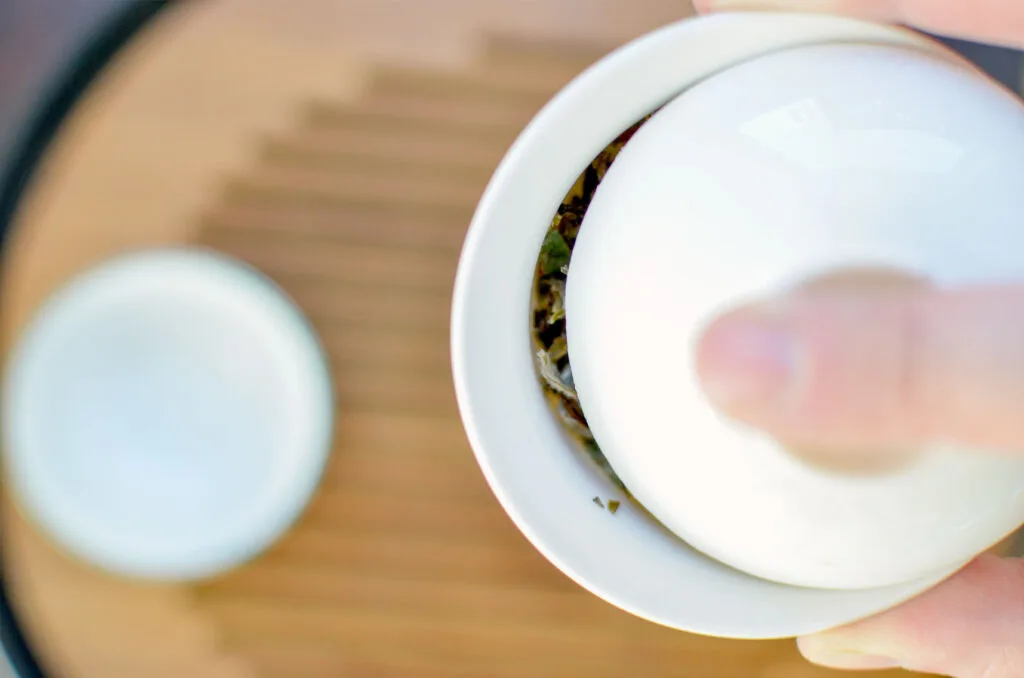
How Much Tea Do You Put In A Gaiwan Teapot?
There’s no exact measurement when you brew tea with a gaiwan. It will depend on a few things… like how big your gaiwan teapot is, how strong you like your tea, and how many infusions you’re looking to get out of it.
You can follow a 1:25 water to leaf ratio for guidance. So that’s 1 gram of tea for each 25 ml of water. If your gaiwan is 125 ml, you would use 5 grams of tea. Other people make it even easier for themselves, and just cover the bottom of their gaiwan with tea.
If you want to take more precise measurements as I mentioned before, you can always use a scale and precisely adjust.
These are the amounts that I found for each type of tea (per 100 ml)
Green & Yellow: 3 – 3.5 g
White: 3.5 – 4g
Black: 4 – 4.5g
Oolong: 4.5 – 5g
Pu’erh: 5g
Ball Oolong: 6 – 6.5g
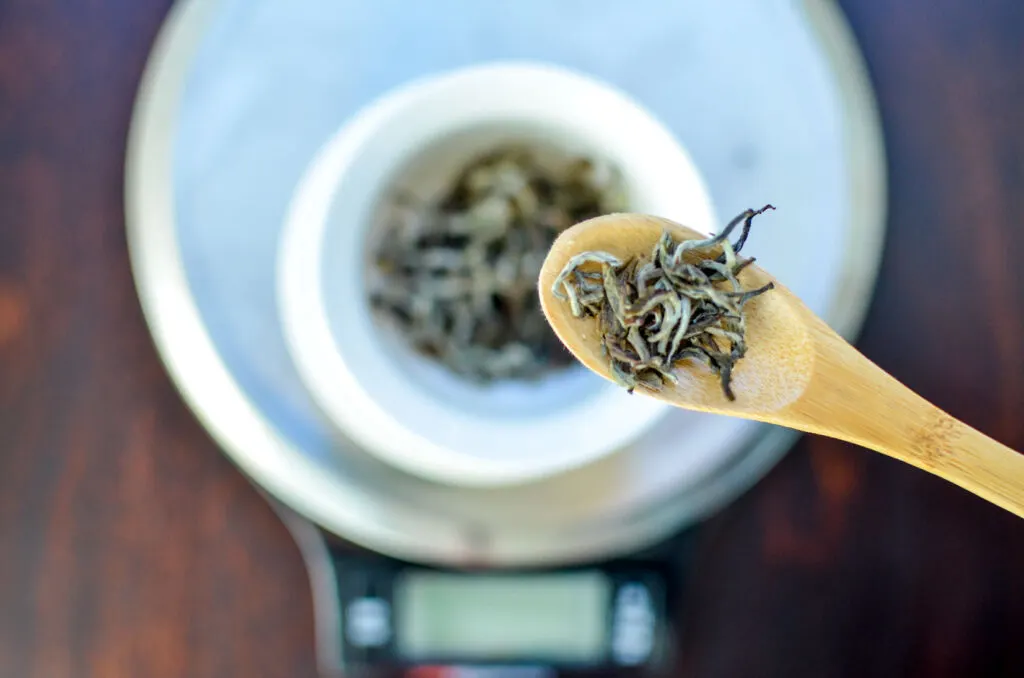
Different Ways To Pour Water Into A Gawain
Just to complicate using a gaiwan teapot even more, there’s also a specific way to pour the water into the gaiwan depending on the type of tea and which infusion your on.
I still haven’t mastered these, so like holding the gaiwan, pouring into the gaiwan also takes practice.
For the most part, you don’t want the hot water to directly touch the tea leaves until later. How you pour your water forces the tea leaves to move in a specific direction to manipulate them and get more flavour in later infusions.
You’ll have to look at your gaiwan as though it’s a clock in front of you. Take note of 12, 3, 6, and 9 o’clock.
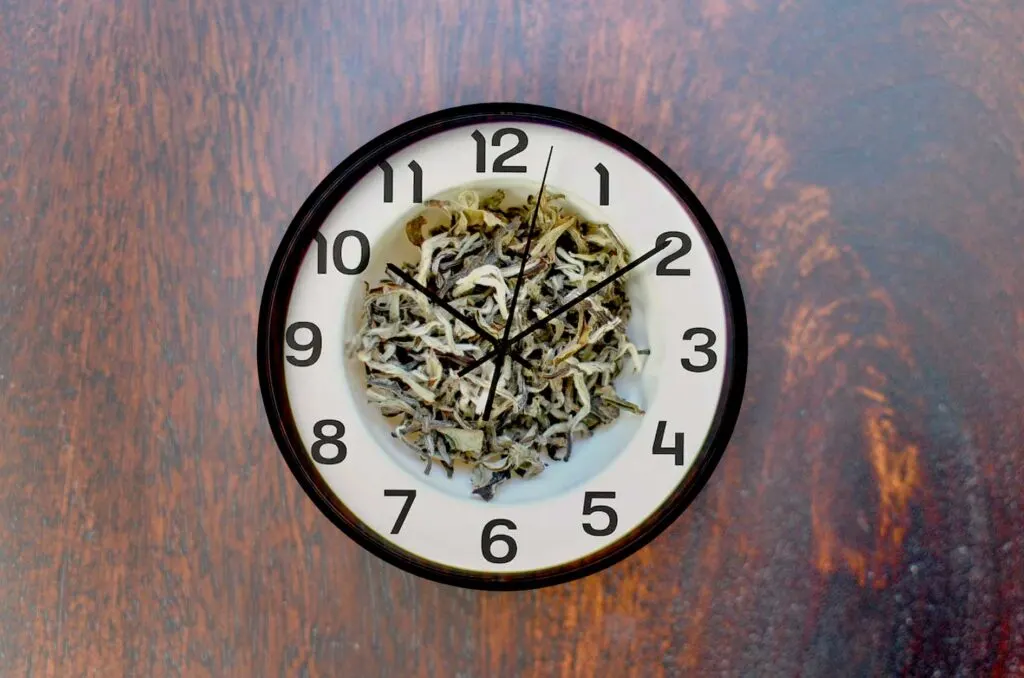
Swirling Leaf 6 O’Clock
The swirling leaf 6 o’clock pouring method is used for the first two infusions. The goal is to get the leaves to move in a circular motion – either clockwise or counter clockwise.
It’s all about the fragrance on these two infusions. It’s generally used for small leaf teas and buds. This can be green teas, silver needle white tea, and yellow tea.
You want your water to hit the gaiwan at the 6 o’clock mark in front of you. This should force the leaves to move in a clockwise or counter clockwise rotation inside the gaiwan teapot.
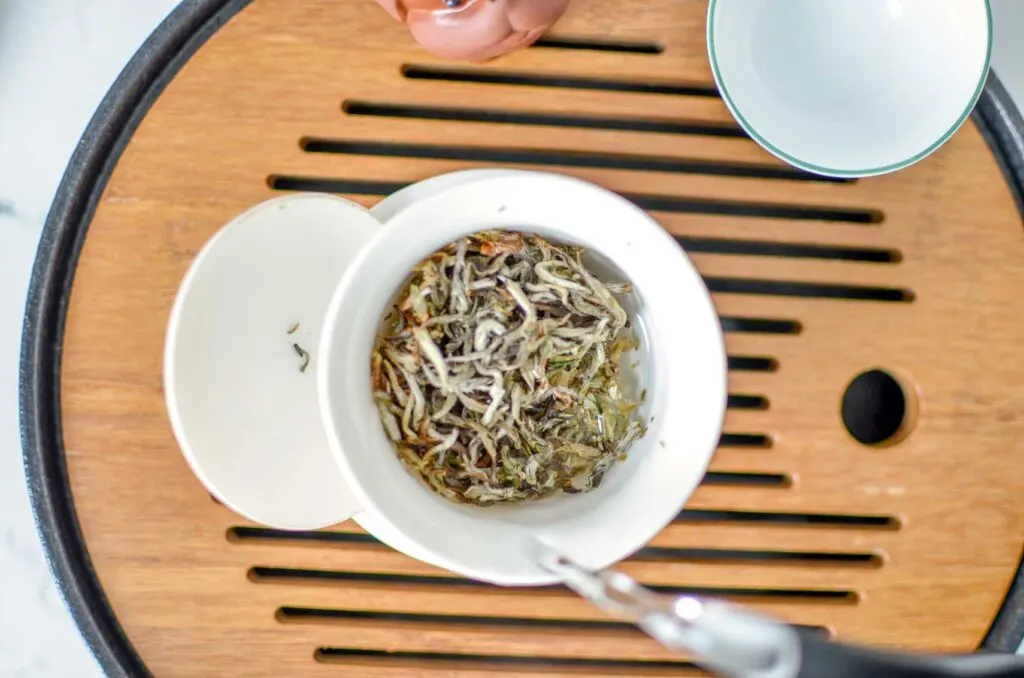
Fixed 7 O’Clock
The fixed 7 O’clock method is easier in my mind as I’ve actually been able to do it (and it’s pretty satisfying when you do!).
You can use this pouring method for any tea. So it can be used for the first two infusions, but then also the third and fourth.
Instead of swirling the tea leaves in a circular motion, you want them to move in a vertical motion in the gaiwan.
Based on where the tea leaves are in the cup, you’re going to angle your kettle to be on the same side as the leaves. (You’ll notice that after you pour out your gaiwan, the tea leaves end up on one side).
Position your kettle at either 7 or 5 o’clock (depending on where your leaves are). That’s also where you want to pour directly onto the wall of the gaiwan.
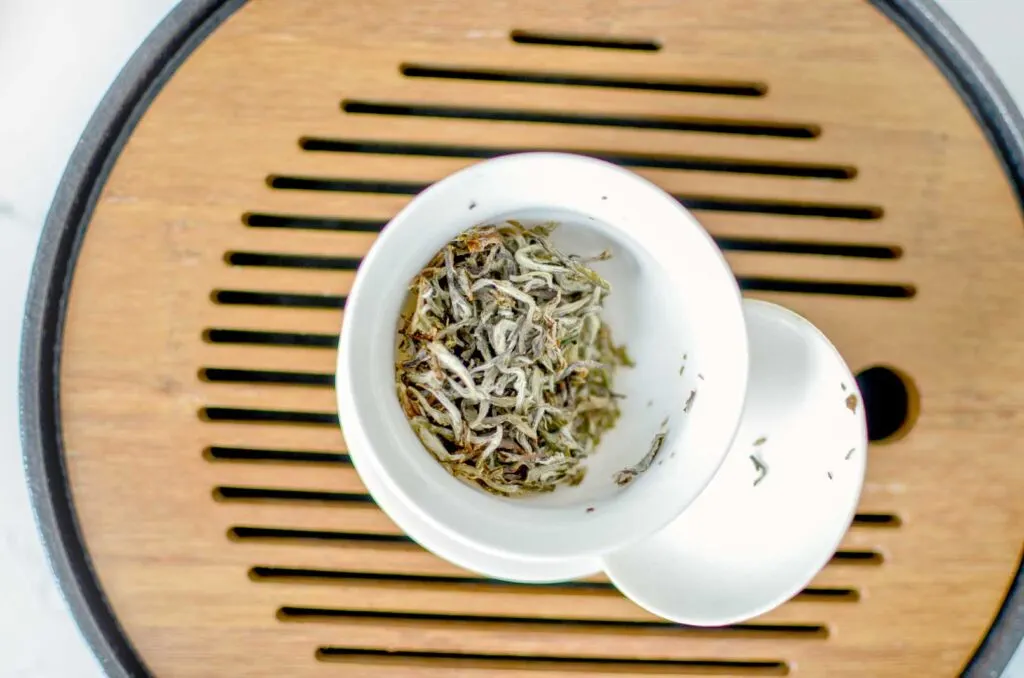
Circle On The Rim
This is not only the easiest pour method but it can also be used for any infusion. It’s also usually used for larger, more mature leaves.
Pouring around the rim helps the larger leaves get submerged in water quicker.
You simply pour water in a circular motion around your gaiwan – hitting the gaiwan edge and not the leaves! This pouring method is one of the reasons gaiwan tea is a messy process.
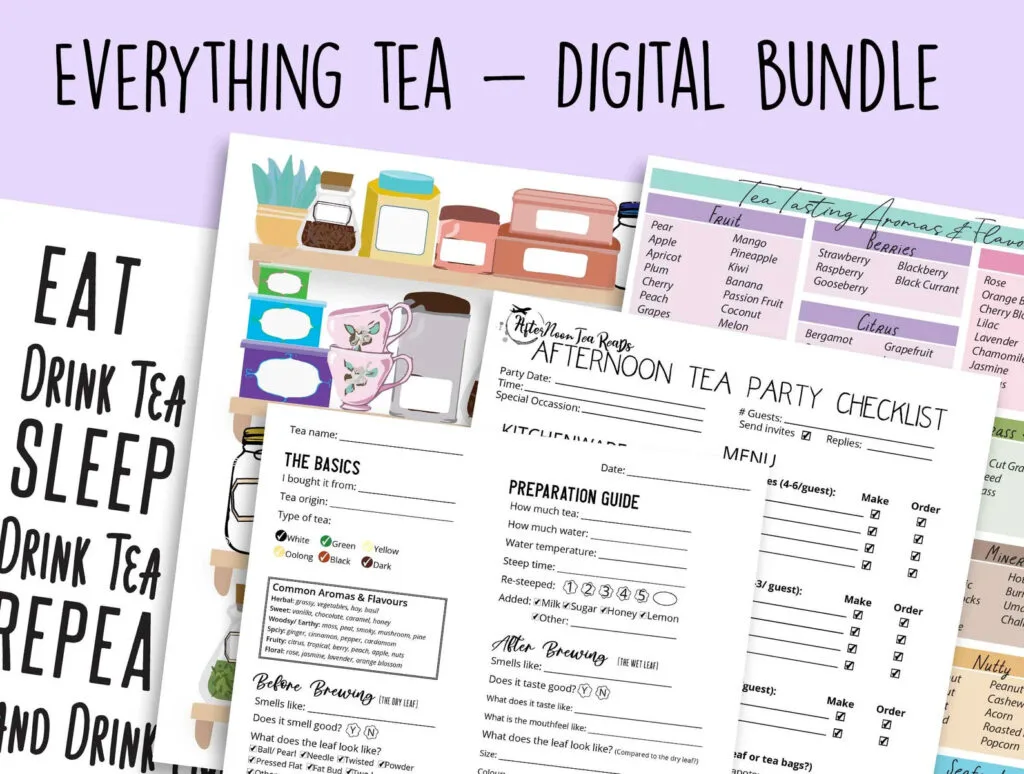
Bundle & Save – The Ultimate Digital Tea Bundle
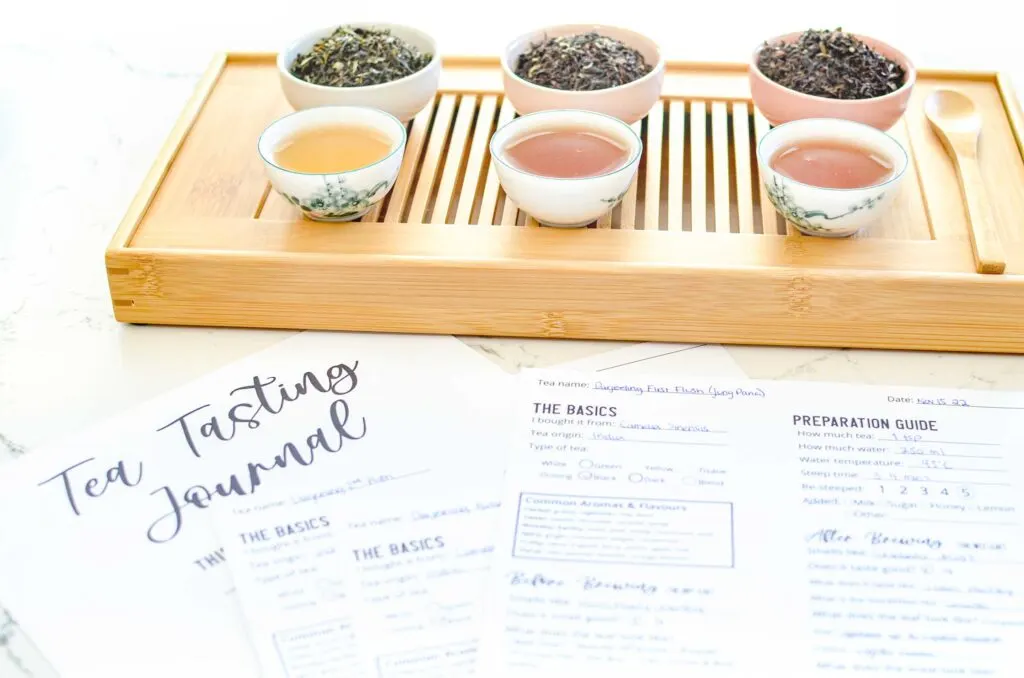
The digital tea bundle has everything you need to step up your tea game. With a digital print, tea tasting journal, tea tasting notes, tea tracker, and an afternoon tea party checklist! You’re all set!
See the perfect tea bundle on Etsy.
P.S. Use my code ATRLOVE at checkout for an extra discount!
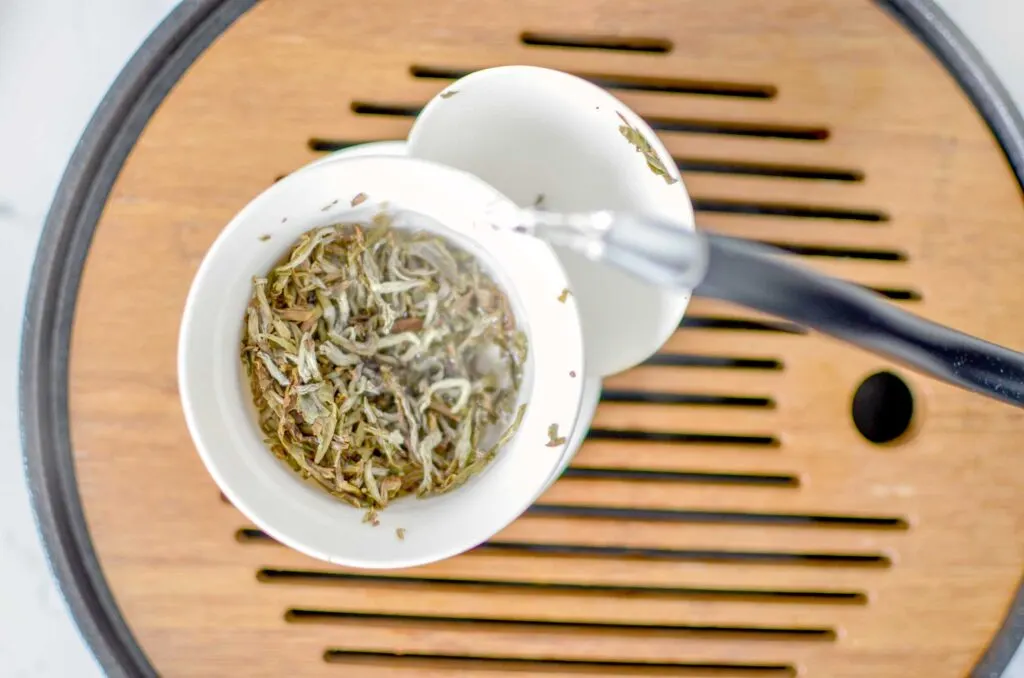
Central Steeping Method
This is the only example of pouring water directly on your tea leaves – and it should only be used in specific situations. Take not that this is the only method you should never use for a first infusion.
It’s mainly used to revive medium to highly oxidized tea leaves flavours and aromas (like black and oolong teas!).
You’ll use this if you notice the flavours are becoming weaker. But you should never do this for green or white tea.
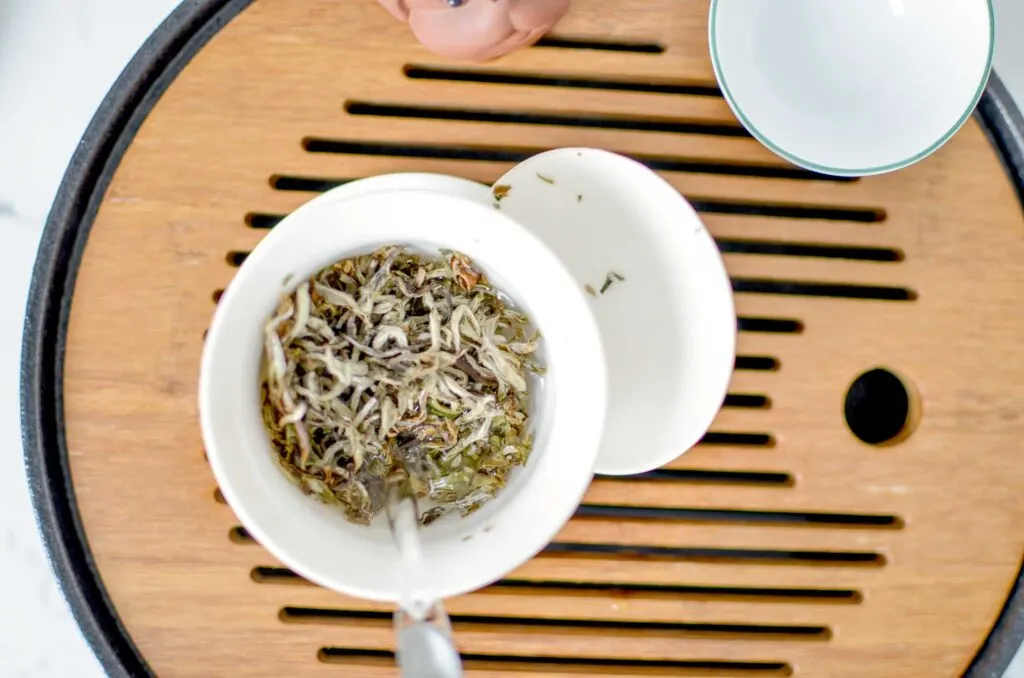
How Long To Brew Tea With A Gaiwan
There’s no rule for how long to let your tea steep in a gaiwan. It’s all about feeling.
Because you’re using a lot more tea, the infusion will never be longer than a minute. It is all about the quick infusion.
As a general rule, you can start with 10 to 15 seconds, adding 10 seconds with each infusion (or more if you find it becoming weaker).
By the 10th infusion of black tea, I’ll sometimes wait a minute or more for my tea to steep – but I also really like strong tea!
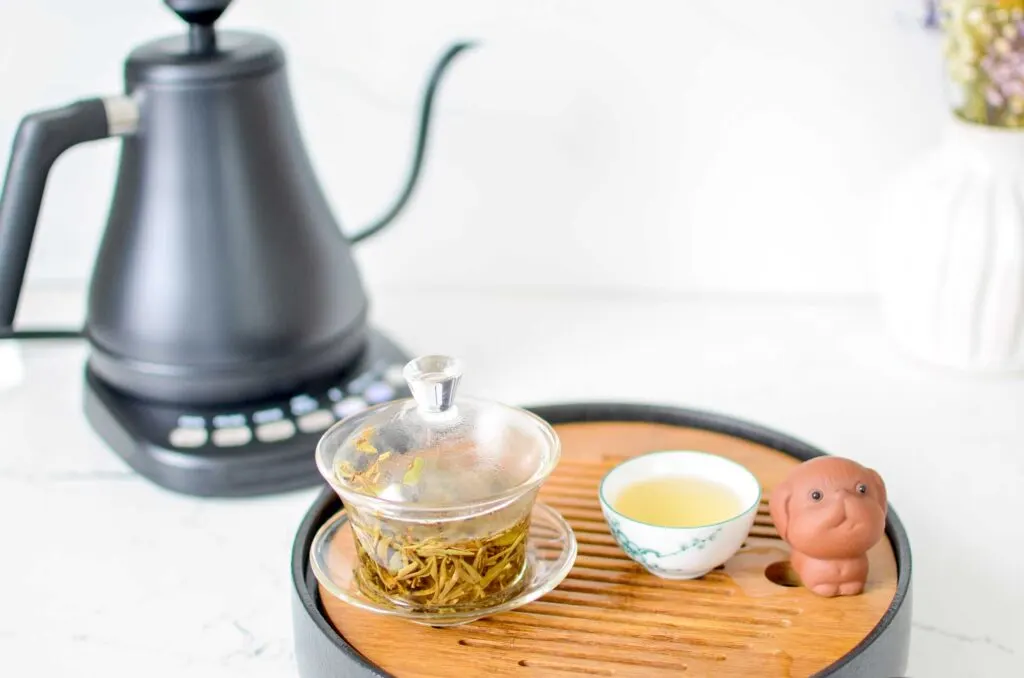
Steps To Brew Tea With A Gaiwan
It’s not as simple as boiling water and throwing in a teabag, here’s how to brew tea with a gaiwan.
I’ll go over some basics now, but usually a gaiwan is a primary tea vessel for gongfu tea brewing.
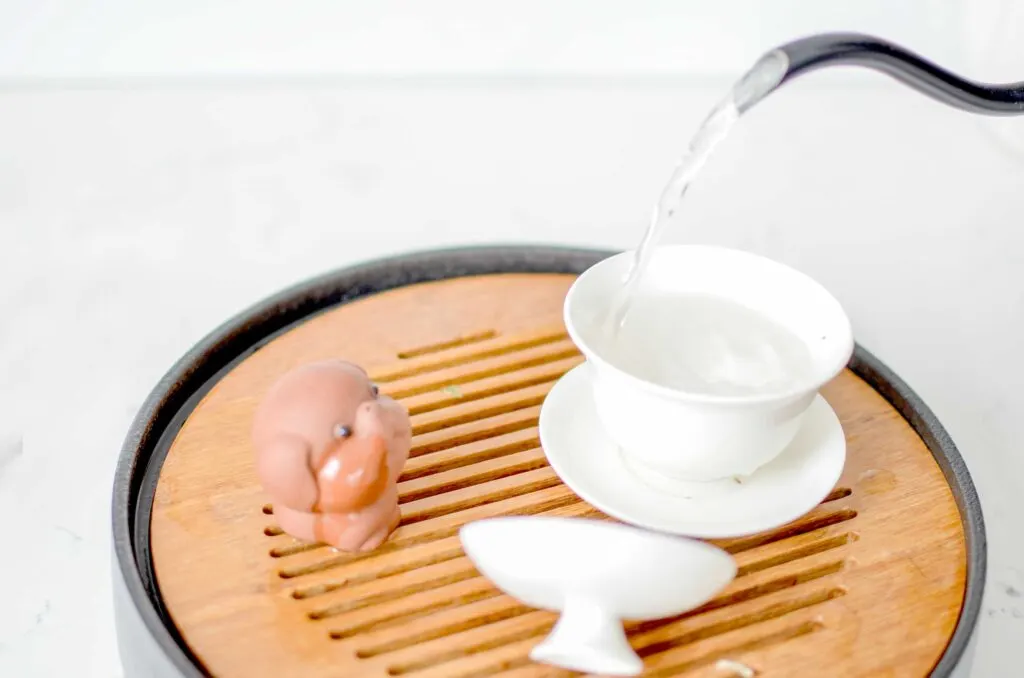
1. Wake Up Your Tea Vessels
You first want to add hot water to your gaiwan to clean it and warm it up. This way the temperature of the water doesn’t drop too much when you reach the steeping stage for your tea.
Swirl the water around and then pour the hot water into your teacups as well.
2. Add Tea
Once your gaiwan is hot, add your tea and cover the lid. Let it sit for a few seconds to warm up the tea leaves (you can also shake it!). This will produce a stronger aroma that you can smell afterwards.
You might also be interested in reading…
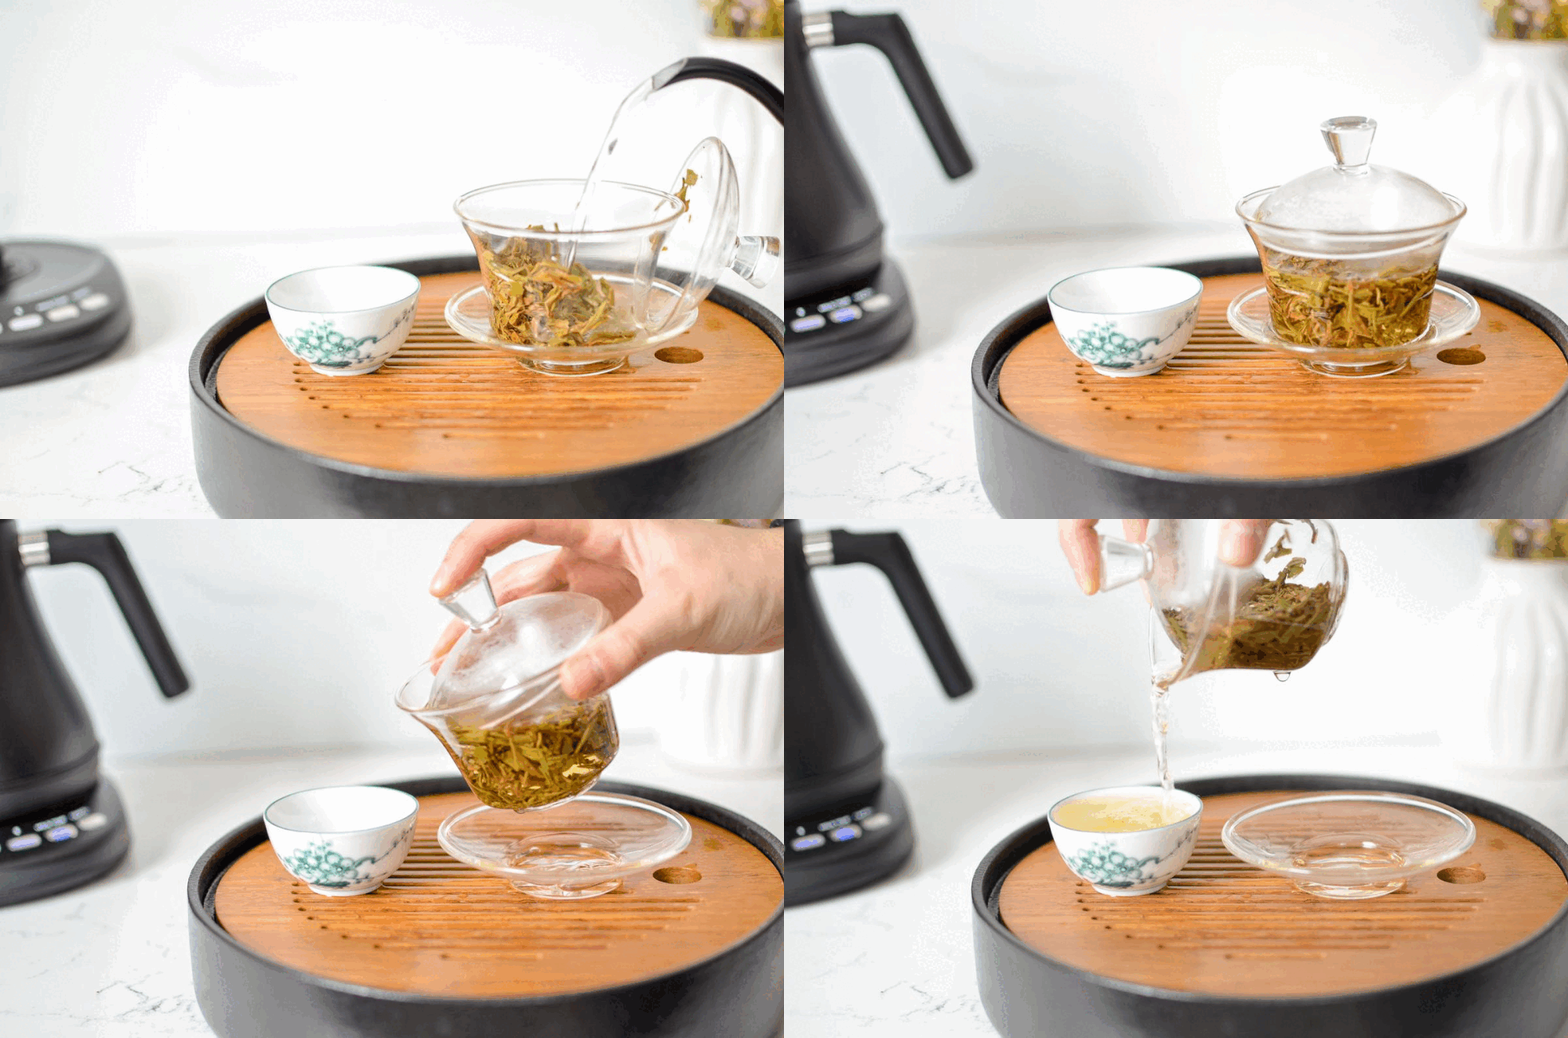
3. Infuse Your Tea
Pour water into your gaiwan (but remember don’t touch the tea leaves!). For more oxidized teas, you can completely cover your gaiwan teapot. For white, green, and yellows, you’ll want to leave a small gap in the lid for some steam to escape.
You can also use the gaiwan lid to push some bubbles out of the gaiwan and manipulate the tea leaves even more.
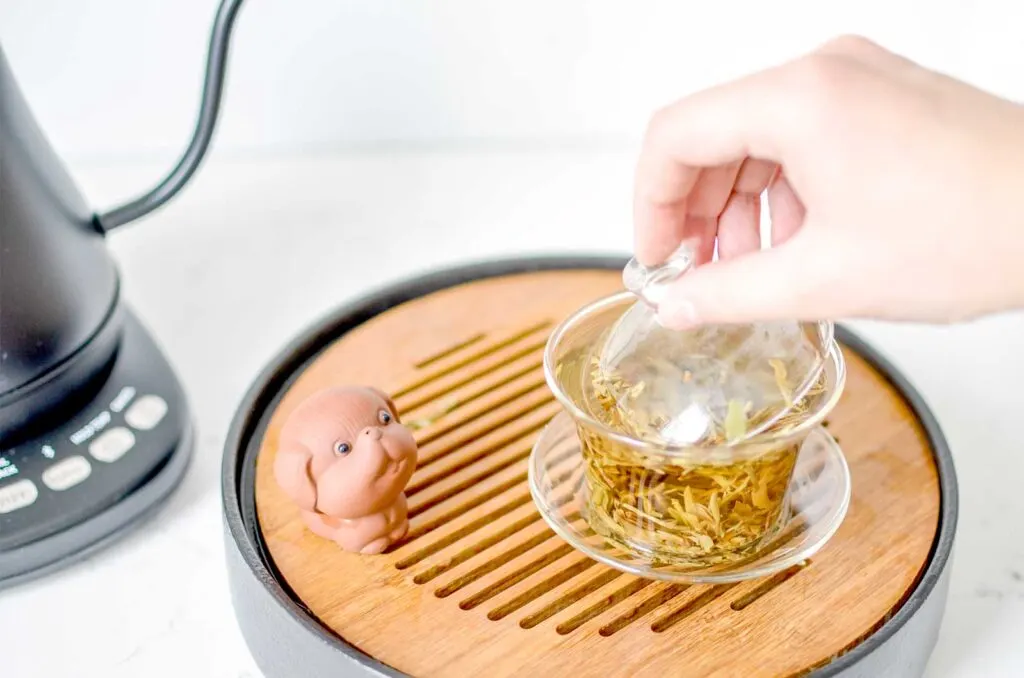
After a few seconds, pour the infused tea into your tea cup.
Make sure to remove the lid of the gaiwan while tasting the tea. Otherwise you risk the steam building up too much and burning the tea leaves.
4. Repeat
Repeat this process as many times as you want, adding time to your infusions as you need.
Shop What You’ll Need For Gongfu Cha On Amazon
Yixing Clay Teapot
Sharing Pitcher
Read More Related Posts
- A Look At Gongfu Cha: Why It’s The Best Way to Enjoy Tea
- How To Make Tea – Brew The Perfect Cup Every Time!
- Tea Tasting Tips For Beginners – A Step By Step Guide
- 11 Popular Types Of Black Tea You Should Try (&Why!)
- What Are The Different Types of Japanese Green Tea?
Click Image To Share Or Save This Post
Last update on 2025-05-28 / Affiliate links / Images from Amazon Product Advertising API


