I had no idea that you could roast coffee beans at home. When I found out I obviously had to try it for myself! Trust me when I say that it blew my mind. It has a huge impact on the texture and flavour of the coffee.
Buying raw coffee beans and roasting coffee myself was also a fun experiment and it wasn’t too hard to do either! I enjoy drinking my coffee black, so I really notice the flavours of the roast and blend – and store bought beans aren’t always my favourite.
There’s only one downside to roasting your own beans: you need to plan it in advance. After you roast the beans, they need to sit for at least 12 – 24 hours before you can enjoy them. But I swear, they’re worth the wait.
Psst! This blog post contains affiliate links in it which sends me a bit of extra money if you use them… at no extra cost to you!
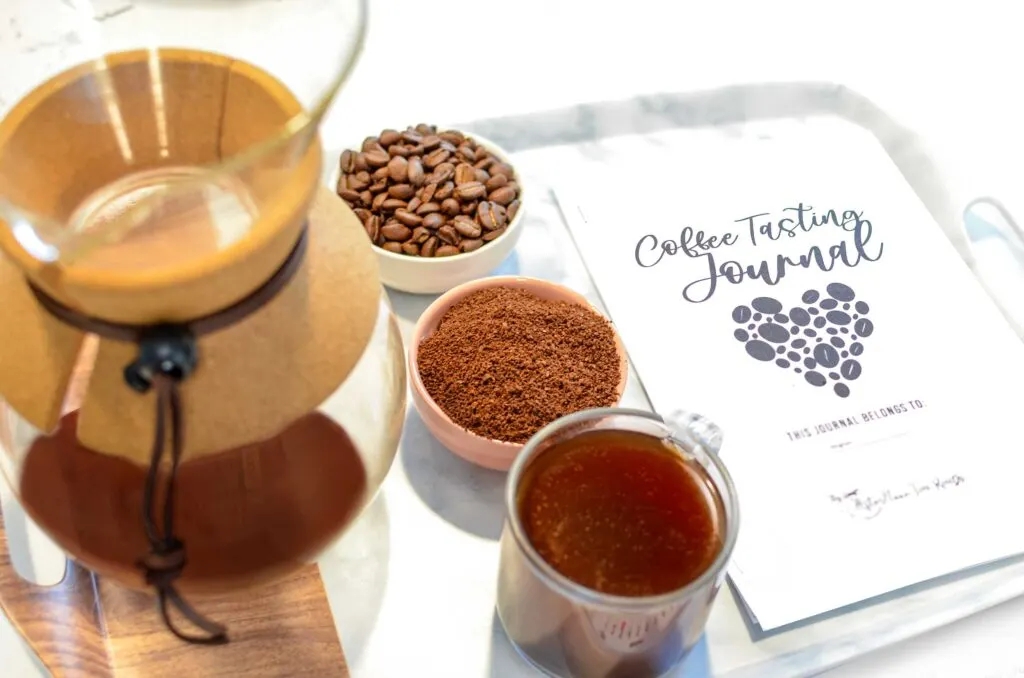
Taste & Track Every Coffee You’ve Tried!
Refine your coffee palette with my Coffee Tasting Journal to record and take notes on every new coffee you try.
Shop my Coffee Tasting Journal on Etsy.
Why Home Roast Coffee Beans?
Like I said, roasting your own coffee beans is huge game changer to the flavour and texture of the coffee. You haven’t tasted good coffee until you’ve tasted fresh home roasted coffee!
Not only is the taste very different, but it also gives you a lot of control over the roast. For example, if you’re a fan of light-medium roasts – which aren’t that popular to find, you can now make it yourself!
Plus, if you’re a fan of coffee it’s a very worthwhile experiment to do that isn’t that hard. It will give you a deeper understanding of coffee and the different roasts!

Warning When Roasting Coffee Beans In The Oven
Before we even get started, I have to warn you about a few things when roasting coffee beans in the oven. First, it’s a little tedious to roast, but the outcome is definitely worth it.
The bigger issue is the smoke… I would only roast coffee beans in the oven if you have a good stove fan. The stove fan is going to be your life saver when roasting your beans. The process creates so much smoke that our fire alarm goes off every time we open the oven.
Just another little heads up, the beans also have a really strong smell at the beginning that some people might not like.

What You’ll Need: Finding The Raw (Green) Coffee Bean
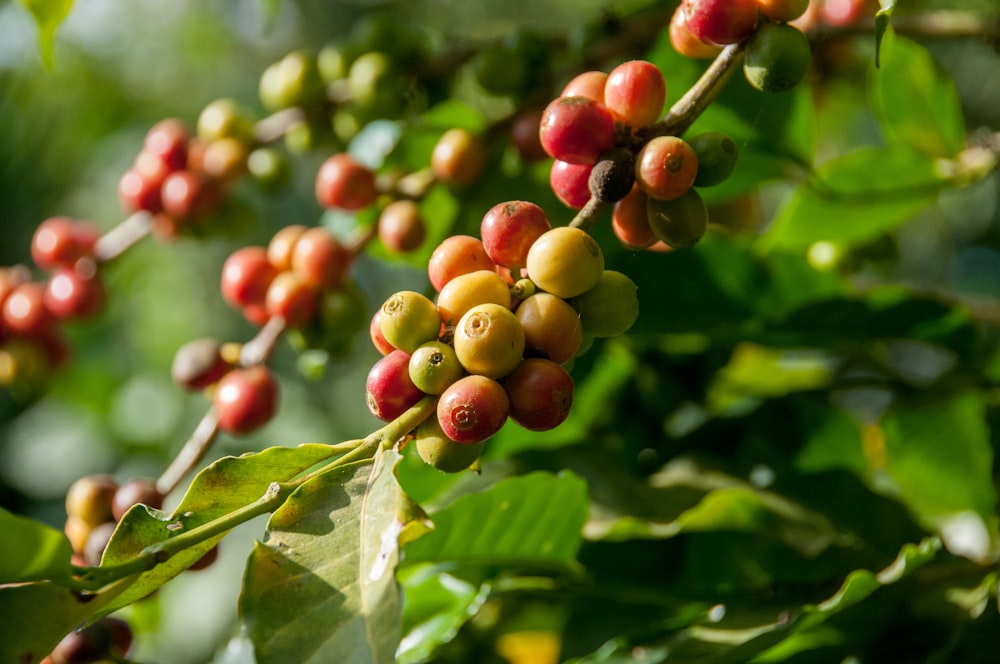
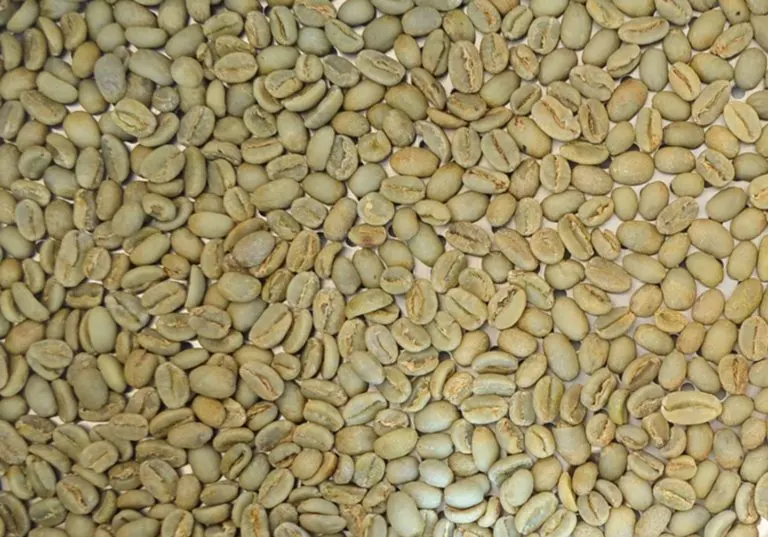
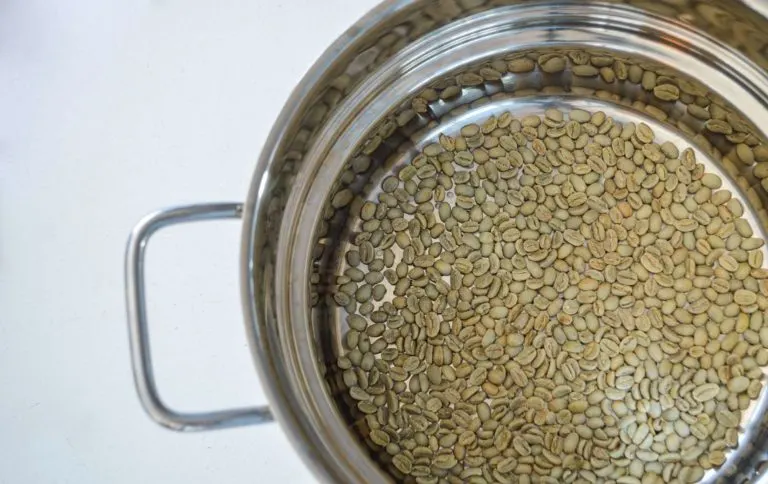
Coffee beans come from the flowering plant coffea. The raw bean looks nothing like the coffee bean we know and love – it’s actually green and quite a bit smaller.
It’s only when you roast them that they’ll get their nice rich brown colour, and expand. They also don’t smell like coffee. I found the ones I bought smelled more like chocolate than coffee but my partner said they smelled earthier to him.
If stored properly, green coffee beans can last from 12-18 months, which is longer than any pre-roasted store-bought bean.
Minimalist Coffee Wall Art
Decorate your home with minimalist coffee prints digital downloads. See it on Etsy.
Where Can You Find Green Coffee Beans?
Finding green coffee beans is the hardest part of the whole process (I found anyway). Google will be your best friend because, let’s be honest, this is not your typical grocery store item.
I found mine at a small Arabic grocery store in my area. (if you’re in Montreal, check out Marché Al Amana on Sherbrooke).
You can also try going to a health food store near you. Green coffee beans are actually known to have beneficial properties for your health.
If you’re out of luck with brick and mortar stores, you can always order them online. If you’re in Canada you can ship them directly to your house from Coffee Bean Canada. What’s great about this site is that they give you all the info about the bean. Just like when you buy tea leaves, they’ll tell you when it was harvested, and how it was processed.
Amazon also sells a few options…
Roasting Coffee Beans At Home: Crack The Bean
When you’re roasting coffee beans at home, there are two important cracks you have to listen for.
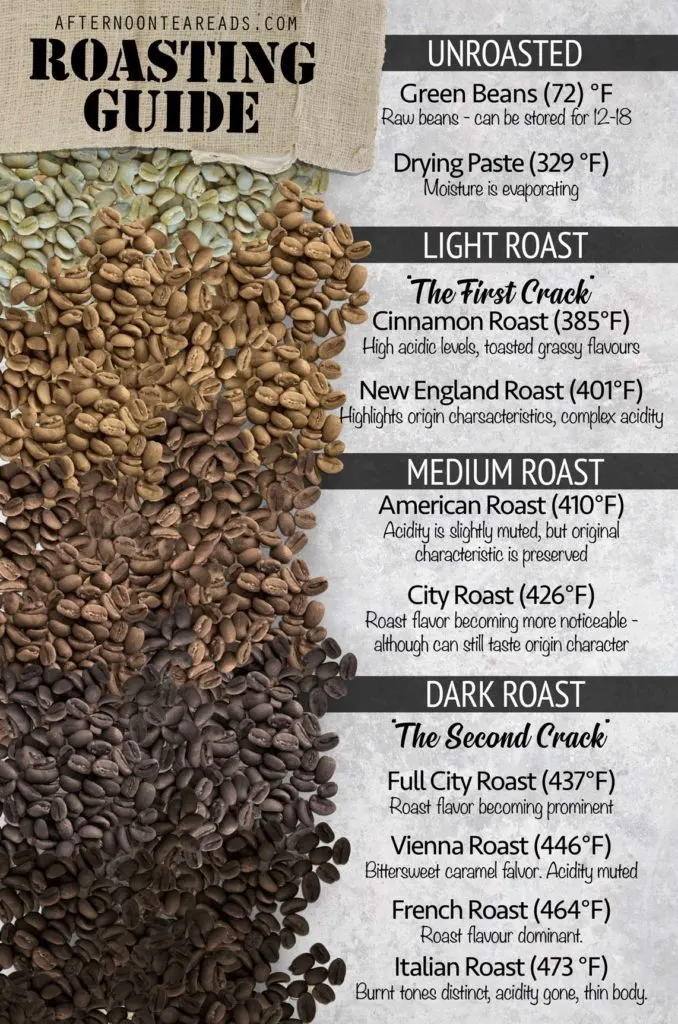
The first crack is a sign that the beans have begun a light roast. The crack happens because most of the water in the bean has evaporated, which happens when the bean reaches a specific temperature (385°F).
If you like a lighter roast, you’ll probably want to take your beans out not too long after you hear the first crack. Once you hear the second crack you’ve pretty much already burned your beans. So you don’t want to hear that unless you like them REALLY DARK!
Anything between the two cracks is considered a light to medium roast. It all depends on how long after the first crack you take them out (see my roasting guide below).
What You’ll Need To Roast Coffee Beans At Home
- Green coffee beans (double the amount of coffee beans you usually grind* or however much fits in one single layer on your baking sheet). Find green coffee beans online, like these on Amazon.
- Baking sheet with TINY holes. You can either use a pizza tray (like this one on Amazon), or a metal vegetable steamer, which is what we ended up using.
- 2 Strainers, like this one on Amazon.
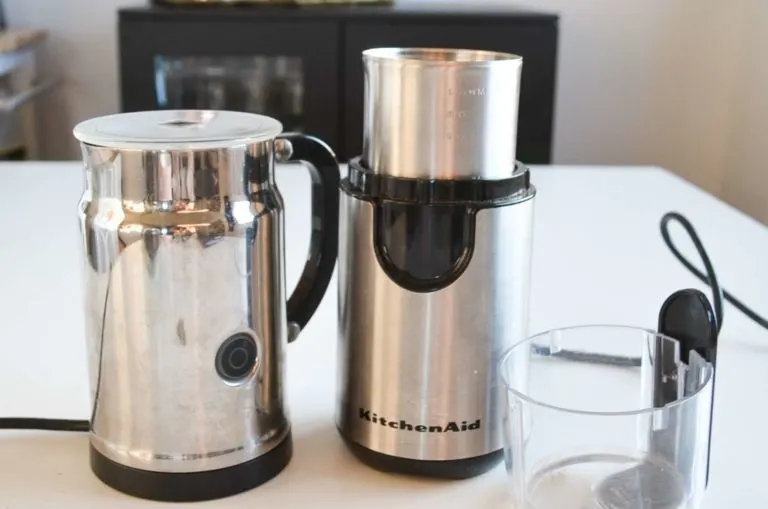
- Coffee Grinder (we use a Kitchen Aid coffee grinder, find it on Amazon here)
- Your coffee machine of choice: French Press/ Drip/ Espresso Machine …
- Milk Frother (Optional)
* This should be the minimum you make. Because you have to wait one day to use the beans, you’ll have enough for two days at a time (you can obviously make more). So you’ll never have to go without fresh coffee again. While you’re roasting the beans, you’ll still have some fresh to drink from the roast before.
How To Roast Coffee Beans At Home
1. Prepare Your Beans
To roast coffee beans in the oven, preheat the to 500°F (or as high as your oven goes), as you’ll need very high heat to roast coffee beans at home. The benefit of using such a high temperature is that it doesn’t take very long to roast your beans. So get ready, this is going to be a quick process.
While you’re waiting for the oven to preheat, prepare your beans. Make sure they’re in one single layer on your baking sheet (or pizza tray), to ensure an even roast.
Once your oven is preheated, place your baking sheet in the oven on the middle level.
The Ultimate Coffee Lovers Bundle
Refine your coffee tasting palette with my printable Coffee Tasting Journal. Enjoy some coffee silhouette art to print at home!
2. Wait, Listen, & Shake
Once the green coffee beans are in the oven, you’re going to want to put a timer on for 1-2 minute intervals. When the timer goes off, give your beans a good shake to mix them around. You want to do this until you hear “the first crack”. It’ll take about 5 minutes.
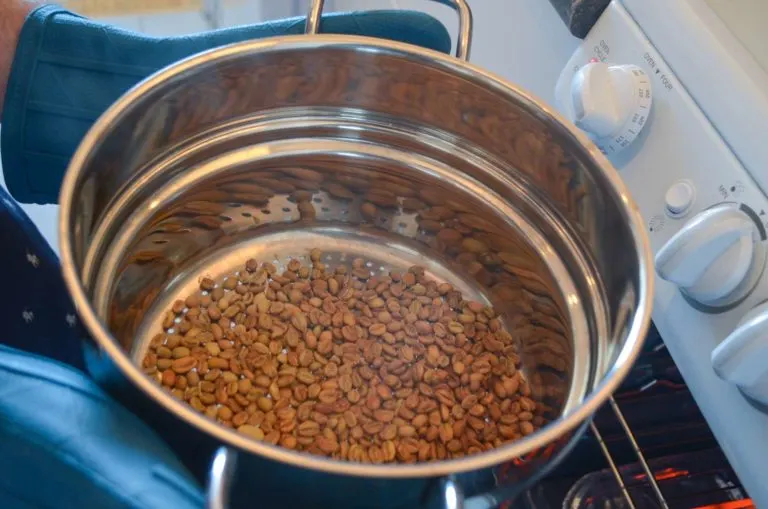
After you hear the first crack check the colour every 30 to 60 seconds to see how they’re doing. Take them out when they’re a bit lighter than your desired colour because the beans are going to continue roasting even after you take them.
Keep in mind they’re not all going to be the same colour. You’ll have some darker and some lighter ones.
3. Shake It Off
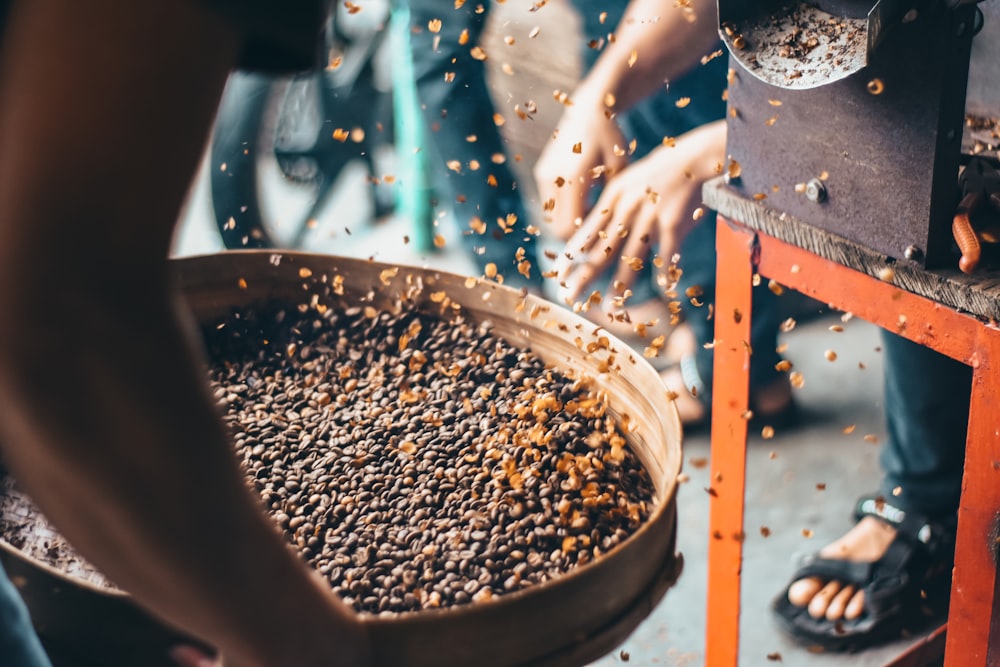
When you’ve reached your desired roast colour, take them out of the oven. You’ll notice that some of them have this thin dried skin on them – this is the chaff. You don’t want this in your coffee blend so you’ll want to try and get most of it off.
Luckily it falls off pretty easily but it will take some work…
If you used a pizza tray, transfer the beans to a strainer, and shake it over the sink. You’ll see the shavings start to fall through the holes. After 30 seconds or so, transfer the beans over to your second strainer. Now shake it some more.
You’re going to want to do this a few times until the chaff is almost all gone. This also helps cool the beans and stop them from further roasting.
You might also be interested in reading…
4. Let The Beans Rest/ De-Gas
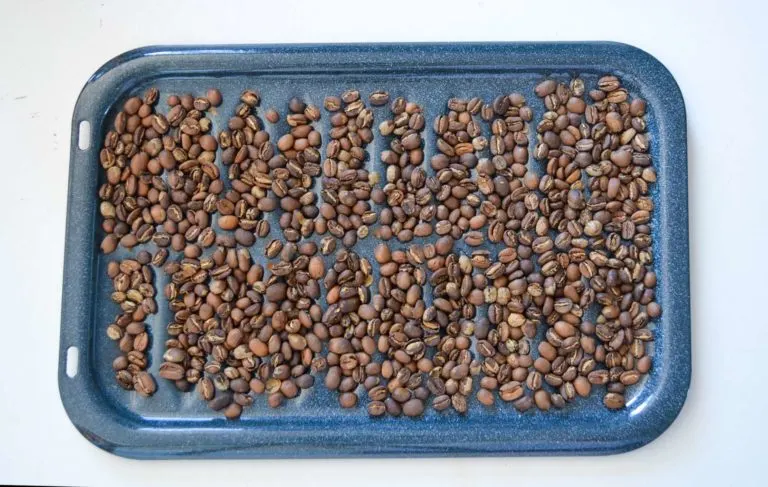
When the chaff is mostly off, return the beans to your baking sheet in an even layer. During this time the beans are releasing a lot of CO2 (that’s why it’s called the de-gas step).
It’s important to NOT store the beans in a tupperware at this time. Due to all the gas being released, the lid might go flying off! This is also why you don’t want to brew the beans right away.
Okay, so I lied before when I said the hardest part was going to be trying to find the beans. The hardest part is right now. You’ll need some serious self-restraint to not brew those freshly roasted beans, despite how good you know they’re going to taste!
The minimum wait time is 12 hours before brewing, but it’s recommended that you wait up to 24 hours for the best flavours. The first 24 hours is when the most CO2 leaves the bean (40%), but apparently darker roasts de-gas faster.
5. Finally Time to Enjoy!
When the next day rolls around it’s time to finally enjoy your freshly roasted coffee beans.
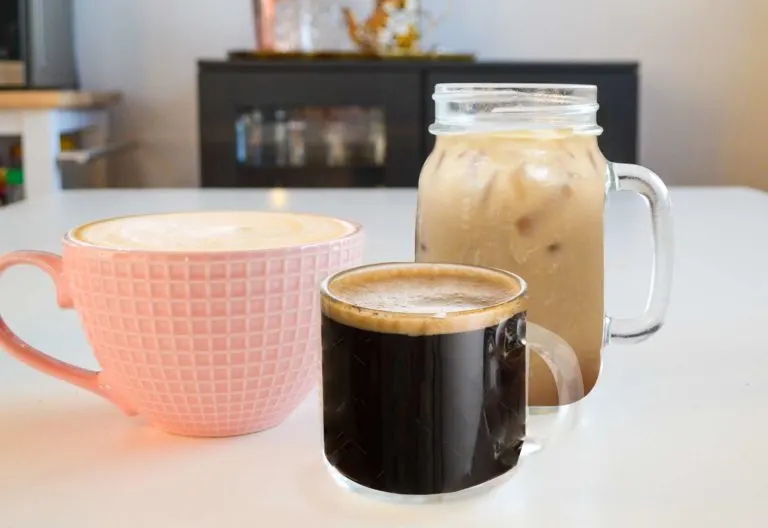
At this point, your beans are like any other. Grind them as you normally would, and then brew. Our coffee machine of choice is the Bodum French Press. It’s quick and easy to use.
Apparently, you get the best taste between 2 to 10 days after roasting. But they’ll stay fresh and keep most of their flavour for up to 30 days after.
Just remember to have fun with it and experiment with different roasts. It’s a good way to see what you like.
My partner thought he loved dark roasts the best but it turns out he actually prefers a much lighter one. The lighter the roast lets you taste the intricate flavours of the beans instead of the roast flavour.
We managed to make delicious coffee our first time roasting coffee beans at home. Unfortunately, our second attempt wasn’t as successful, but they were still better than store bought beans. So don’t worry if they don’t turn out perfectly the first few times, also there will be variance!
And, as I said before, to make sure we always have fresh beans to brew we double your recipe. We roast the beans on Saturday to drink on Sunday AND the following Saturday (when we roast again). That way we always have a fresh home roasted coffee beans to brew for the weekend.
Shop Coffee Bean Roasting Essential On Amazon

The Ultimate Coffee Lovers Bundle
Refine your coffee tasting palette with my printable Coffee Tasting Journal. Enjoy some coffee silhouette art to print at home!
Related Posts
- 7 Unbelievable Times you were Lied to About Coffee
- 5 Healthy Coffee Alternatives With Caffeine To Keep You Going All Day Long
- 3 Instant At Home Iced Coffee Recipes You Need To Try!
- How To Cold Brew Coffee At Home (In A French Press)
Click Image To Share Post Or Save For Later
Last update on 2025-05-28 / Affiliate links / Images from Amazon Product Advertising API

![Why [& How] I Roast Coffee Beans at Home! | #roastyourownbeans #roastingcoffeebeans #howtoroastcoffeebeans #drinkcoffee #coffeetrends](https://afternoonteareads.com/wp-content/uploads/2019/04/Pinterest_roasting_coffee-Beans3-678x1024.jpg.webp)




![Why [& How] I Roast My Own Coffee Beans at Home! | #roastyourownbeans #roastingcoffeebeans #howtoroastcoffeebeans #drinkcoffee #coffeetrends](https://afternoonteareads.com/wp-content/uploads/2019/04/Pinterest_roasting_coffee-Beans2-678x1024.jpg.webp)
Dada Vai
Friday 18th of September 2020
Fantastic article. A very handy guide, there is no doubt that this is very informative and helpful. Now I have a better idea about roasting coffee beans. Thanks for sharing such an informative article. Hopefully, waiting for your more article in the future
Meghan
Friday 18th of September 2020
Glad to hear that! Thanks so much :)
Albert Torres
Tuesday 15th of September 2020
I love coffee, especially its aroma. Cool post! Thanks!
Meghan
Wednesday 16th of September 2020
There's nothing better than the smell of fresh coffee :) Thanks!
beans
Saturday 20th of June 2020
nice post Thanks for sharing
admin
Saturday 20th of June 2020
Thanks! :)
Peter Dawson
Wednesday 18th of March 2020
nice article, thanks for sharing.
admin
Friday 20th of March 2020
Thanks! Glad you enjoyed :)
Dreamy Bean
Tuesday 25th of February 2020
We’re strong advocates for home roasting – we love it! We’ve seen countless people intending to try it just once, only to become home roasting addicts.
Laura
Monday 12th of July 2021
True words, tried it once and only home roasting since then. :)
admin
Wednesday 26th of February 2020
No way! That's awesome to hear. It's so easy to do and the taste and flavour profiles are so much better than store-bought so I'm not surprised to hear that! It's a game-changer for coffee lovers :)