I don’t know about you, but when I come back from vacation I have thousands of new pictures. The only question is, what to do with them!
Now that photos live in a digital world, and aren’t automatically printed, they can be easily forgotten which is such a shame.
So, here are 7 creative ways to display travel photos. Whether in a physical travel photo album, a no-frame gallery wall, or a high tech changing photo frame, you can make sure those memories are never lost.
Psst! This blog post contains affiliate links in it which sends me a bit of extra money if you use them… at no extra cost to you!
1. Back To The Basics: Make A Travel Photo Album
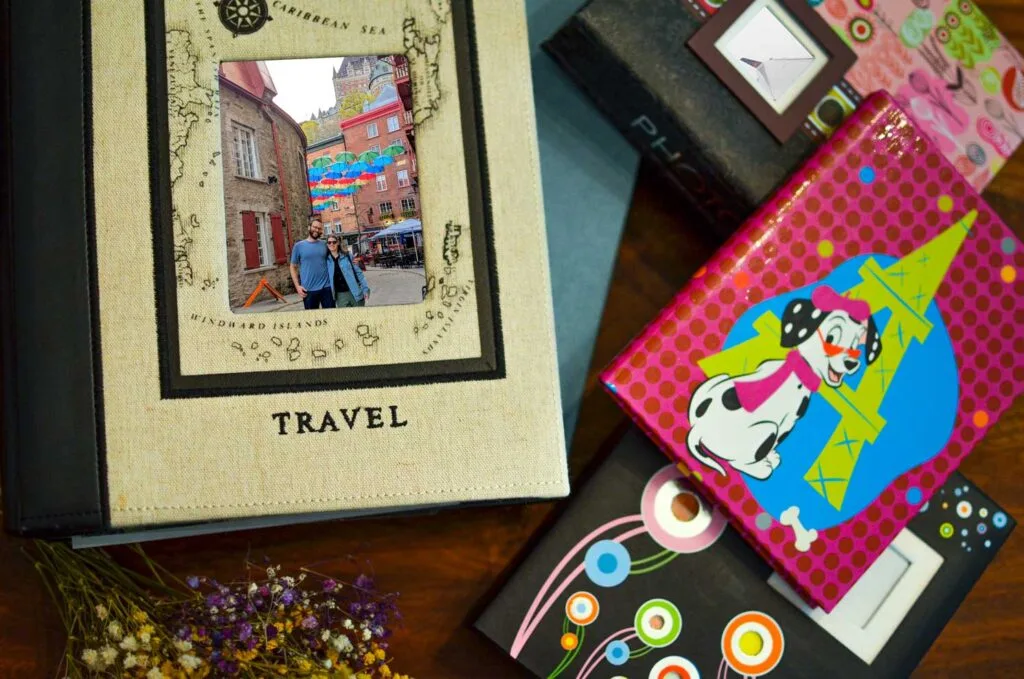
Making a travel photo album from your digital photos can be done in one of two ways…
The Old School Method: Print & Add Photos Yourself!
Print up all your favourite travel photos the same as when they were taken on physical film. The only difference now is that you can choose to only print the good ones (and eve do some editing before!).
I use Shutterfly to print my photos on standard size prints (4×6, 5×7, and 8×10), but they also offer square and even large format prints.
You’ll also need to buy a physical photo album to place your photos in once they arrive. And yes, they still sell those!
You can pick up a simple one, like this one on Amazon, to add your photos!
Or, make it more of a scrapbooking project, and buy this album kit to make a truly one of a kind album!
The New School Method: Travel Photo Book
Instead of spending time printing individual photos and adding them to an album, you can do that all digitally. Again, I like to use Shutterfly to make my travel photo books.
It’s more like making a digital scrapbook that you print all at once on one page. You can add different sized images, borders, even stickers, and of course comments!
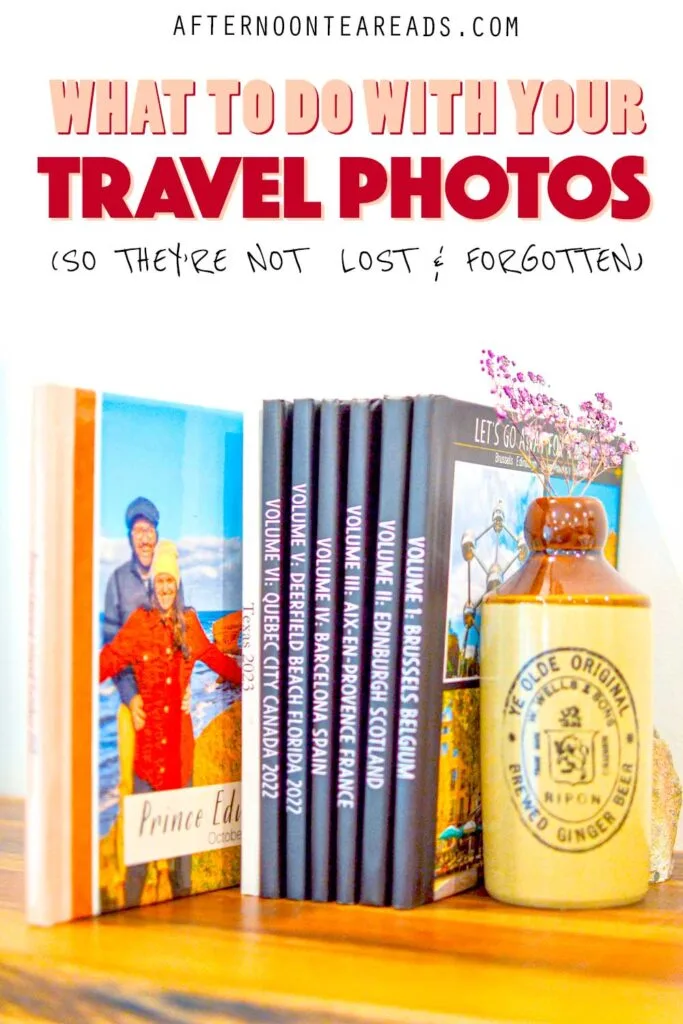
I make one for every each trip I like making mine 8×8 hardcover books. The lay flat option looks incredible too, but it will add cost of course!
Shutterfly gives you the option for full control over designing your travel photo album. I’ll admit, it’s a big time commitment, but it’s really interesting to see how my editing style has changed over the years!
But if you don’t have time to spend editing, they also give you the option to have them design it for you in 24 hours… free of charge.
Once your travel photo album arrives, leave it on display so you can pick up anytime you want to relive your trip. Or for guests to peruse at their leisure, just like an old school travel photo album!

P.S. Shutterfly often has discounts on their books as well, and now they’ve even partnered with Costco giving members 51%.
2. Display Travel Photos By Printing Them On Something Fun!
On Shutterfly, you can also make your photos into so many other fun creations!
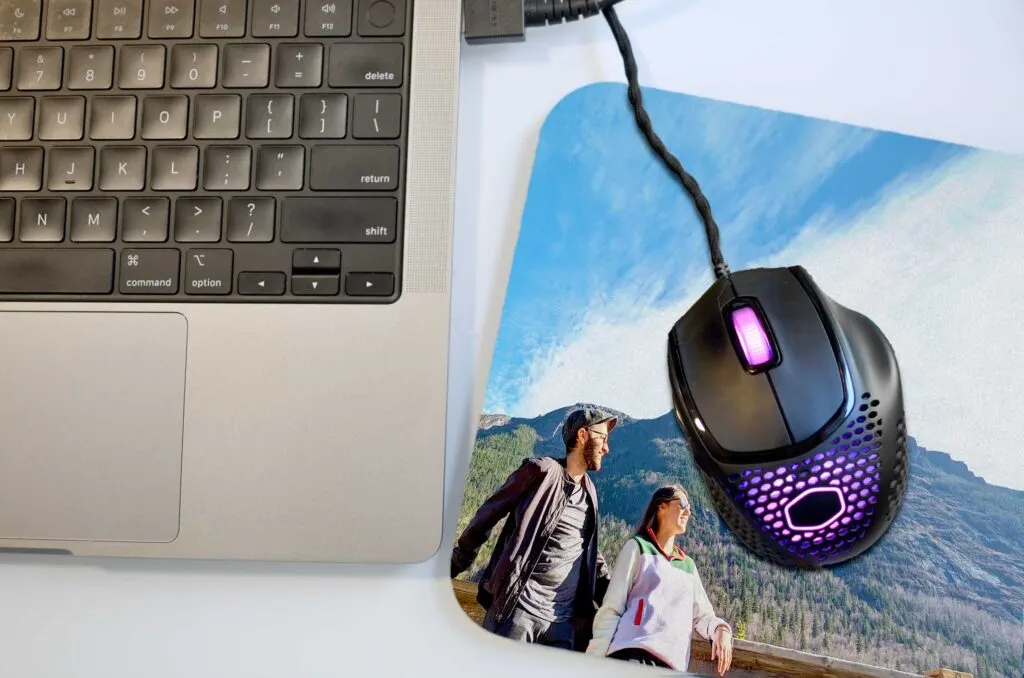
So why not print your photos on a pillow, mug, a calendar for the following year, or even a customized luggage tag for your next trip.
I’ve printed my travel photos on a mousepad and fridge magnets, and it’s such a fun way to subtly display your favourite photos from your latest trip!
Check out all the creative options on Shutterfly!
Ideas To Display Photos On Wall
A very common way to display your favourite travel photos is to print them and hang them somewhere in your home.
But the question is, how do you display them on your wall once they’re printed!? Well there are a few options, with pictures frames and without!
3. Creative Ways To Display Photos Without A Picture Frame
There’s no denying, the most expensive part about hanging your photos on a wall is framing them!
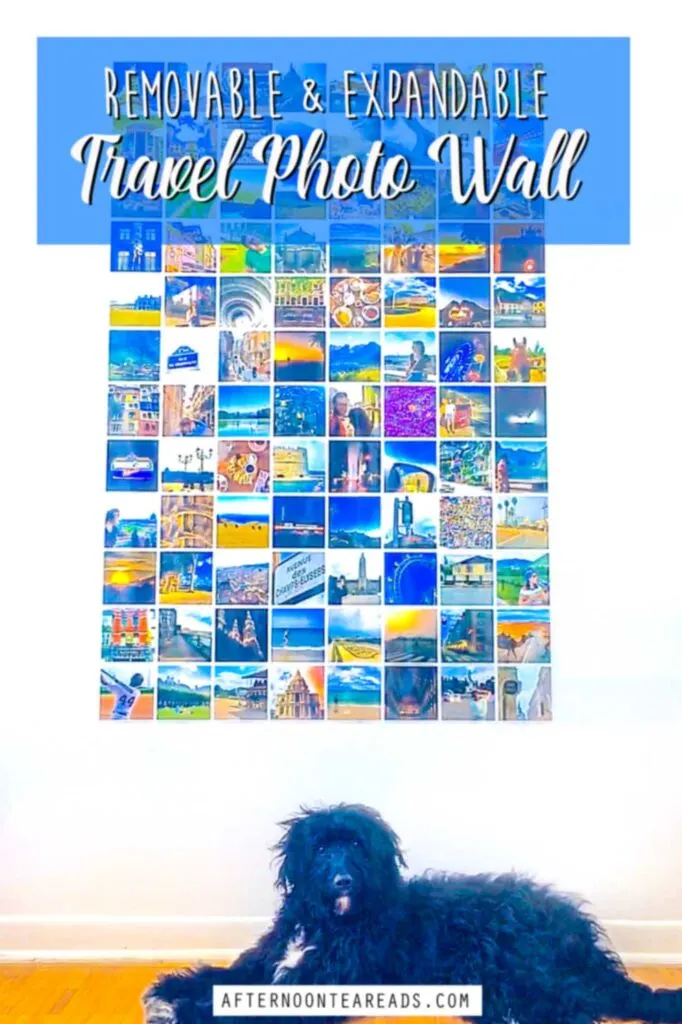
So I came up with a creatives ways to display a lot of photos without the need for any frames at all: a growing travel photo wall!
I chose the biggest emptiest wall in my house and printed as many photos as I wanted in a square template. I simply tape as many photos that could fit on the wall.
Don’t worry, I have a full how to make a growing travel photo wall post .
It’s an inexpensive way to display A LOT of travel photos all at once for everyone to see. I’m also able to easily add to it after every trip – the only real limit is the size of the wall! Plus, it’s a no brainer to mount the photos and even remove them, it doesn’t damage the wall at all!
I’ve added to, and even moved my photo wall now several times! It’s a real show stopper as well when ever anyone comes over. It’s a fun game to see what locations people can recognize.
Step It Up A Notch
If you aren’t sold on the no-frame idea, you can easily step up your photo wall by buying an extra large frame to add all your photos to.
This way, your photos are protected, and it looks a tad more professional! But, it will definitely cost you!
4. Make A Gallery Wall Or Photo Grid With Travel Photos
For a more traditional way to display your travel photos on your wall, you can also frame them.
For a fun look, create a travel gallery wall with different sized prints and frames. It’s easy to add new photos, and they don’t have to be measured perfectly, or even match!
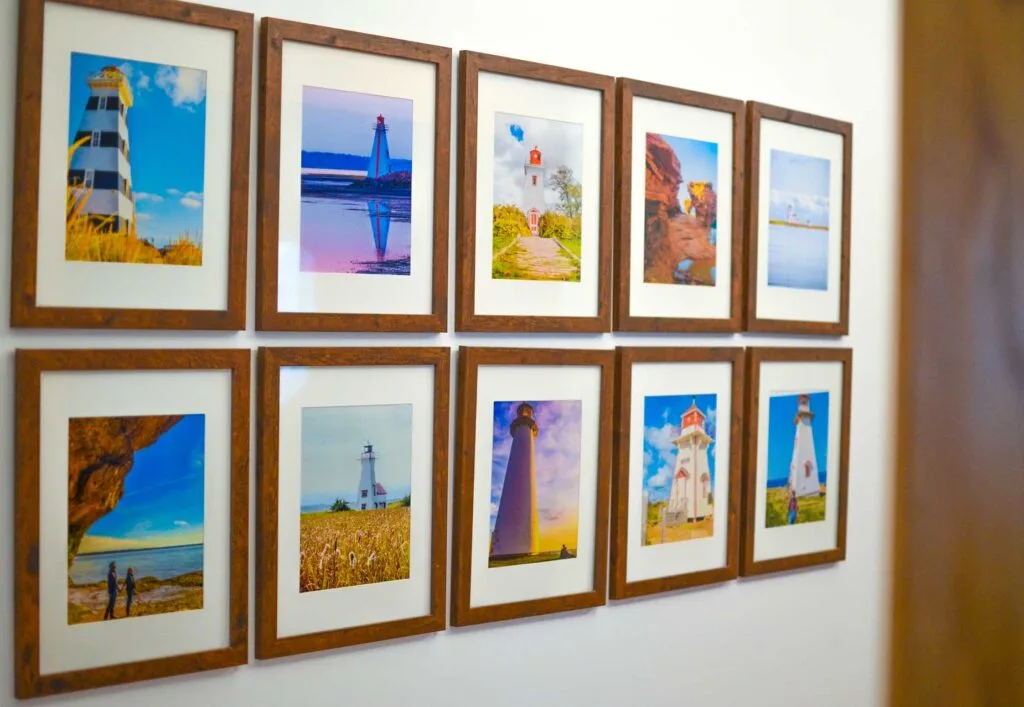
For a more uniform look, print the same size photo and place them in the exact same frame. It’s a more serious way to display your photos but I find it works really well for themed photos.
For example I printed up all my lighthouse photos from Prince Edward Island and displayed them in my long – and otherwise empty -hallway.
You can also change the photos in the frames after every trip!
5. Make A Canvas Print (DIY Option)
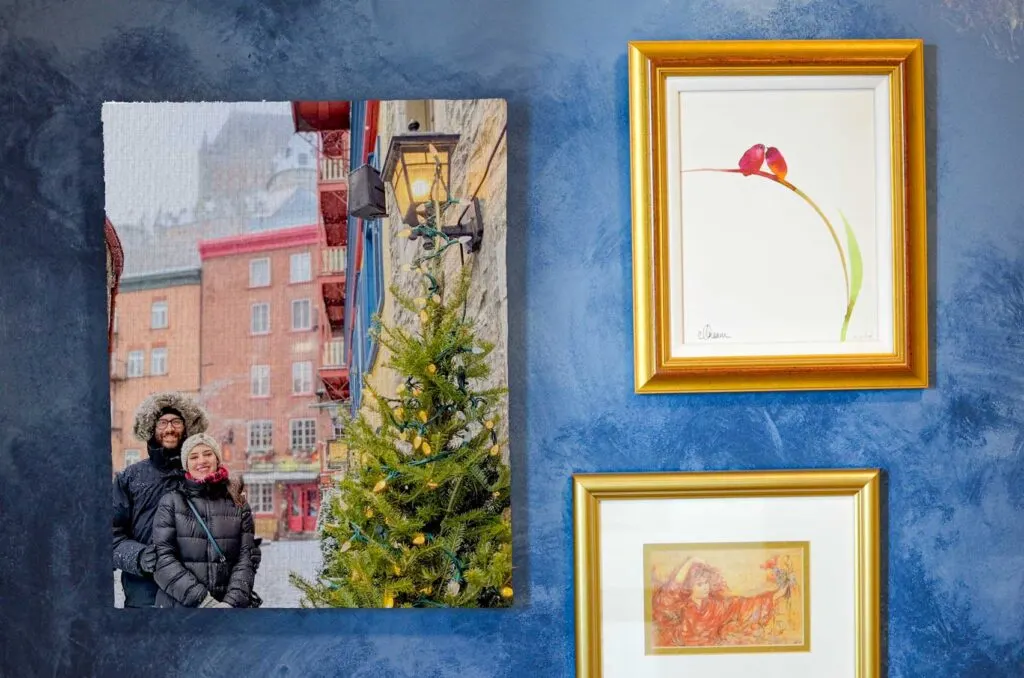
One of the most creative ways to display photos without frames is to print them on a canvas.
Canvas prints are beautiful and really make a statement on your wall – without the need for any frame at all!
I love the look of photos printed on canvas, but I’ll admit they can definitely add up to a hefty bill (especially for the larger sizes). Several places offer photos prints on canvas, like Shutterfly, or you can attempt to make it yourself…
You can actually transfer a photo print to a canvas yourself. It will cut costs in half, and it makes a really neat rustic look too!
Non Print Ideas To Display Photos
You might not want to spend time, money, or even paper to print and display travel photos from your latest trip, so here are two no print ideas to display photos!
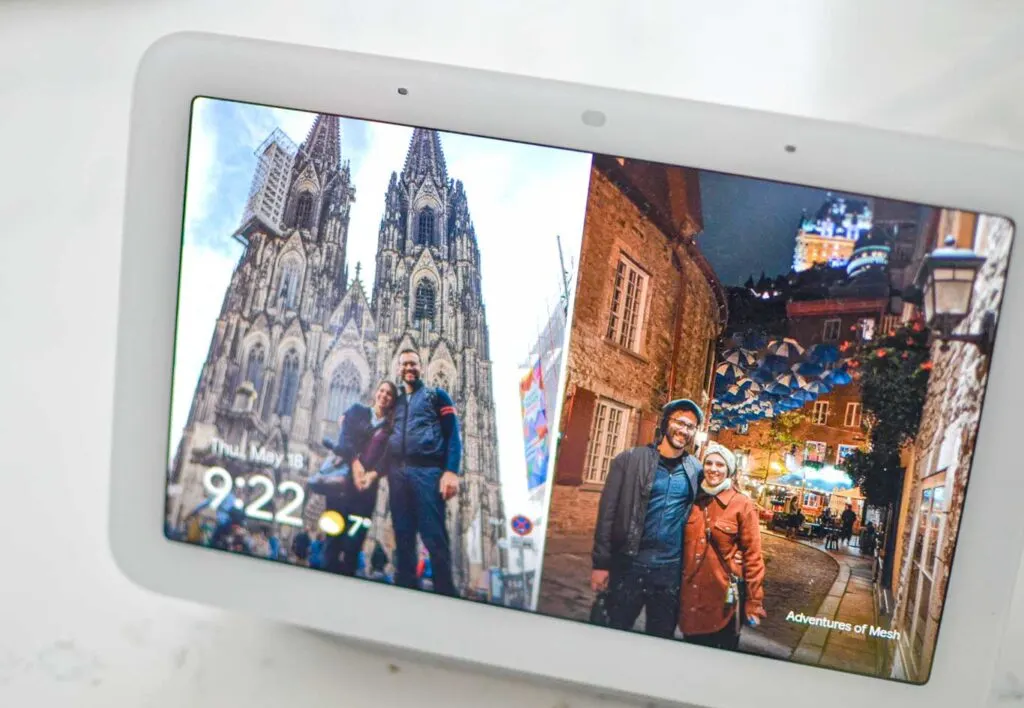
6. Invest In A Moving Picture Frame
A moving picture frame is a hassle free, no printing, way to display travel photos.
It’s a bit on the pricey side at the start, but you’ll save a lot of time, money, and paper in the long run.
It’s so easy to change the photos it displays, and add more after every trip! You have a constantly changing loop of photos.
I have a Google Nest Hub, and honestly I don’t use it for much else other than displaying my travel photos from my most recent trip.
7. Make A Personal Blog For A Non Print Option!
A blog is your own personal website where you can add your favourite travel photos.
It’s your own online space that’s easily accessible and you can even share the URL with friends and family to see (don’t worry, it doesn’t have to be a public blog).
Sign up for WordPress.com, it’s completely free to start adding your photos! You can even add comments to share your favourite stories from your trip with each photo!

P.S. Learn How To Take Better Group Travel Photos
Stop taking selfies or asking someone to take a photo of you while you’re away. I have a few handy travel photo gear I always bring with me to take the best photos of myself and my travel partners – every time!
Although, if you learn how to take better photos, you might just have a harder time deciding which ones to display when you get back…
Anyway, it’s all about a remote shutter, a mini tripod, and a phone adapter… read more about how to take the best travel photos.
Read More Related Posts
- How To Take Group Travel Photos By Yourself: My Secret Hack
- How To Make A Removable Photo Wall (Perfect For Travel Photos)
Click Image To Share Or Save This Post
Last update on 2025-05-28 / Affiliate links / Images from Amazon Product Advertising API




Liveshare Moment
Wednesday 30th of August 2023
These 7 tips you mentioned will be very helpful to travelers to create and display their travel albums. Nice information Thanks for sharing...
Meghan
Friday 22nd of September 2023
Thanks! I hope so :D