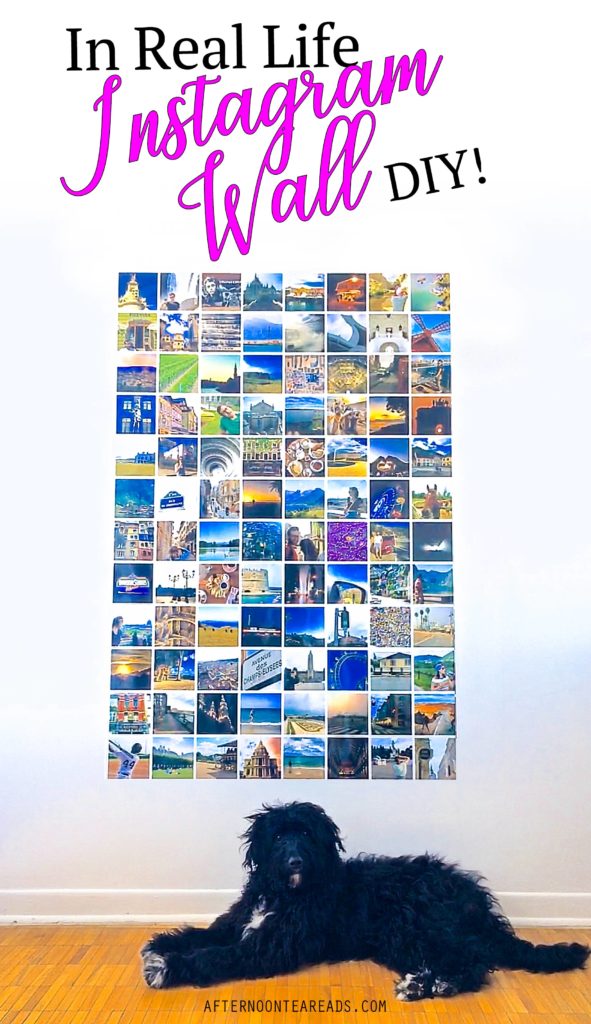
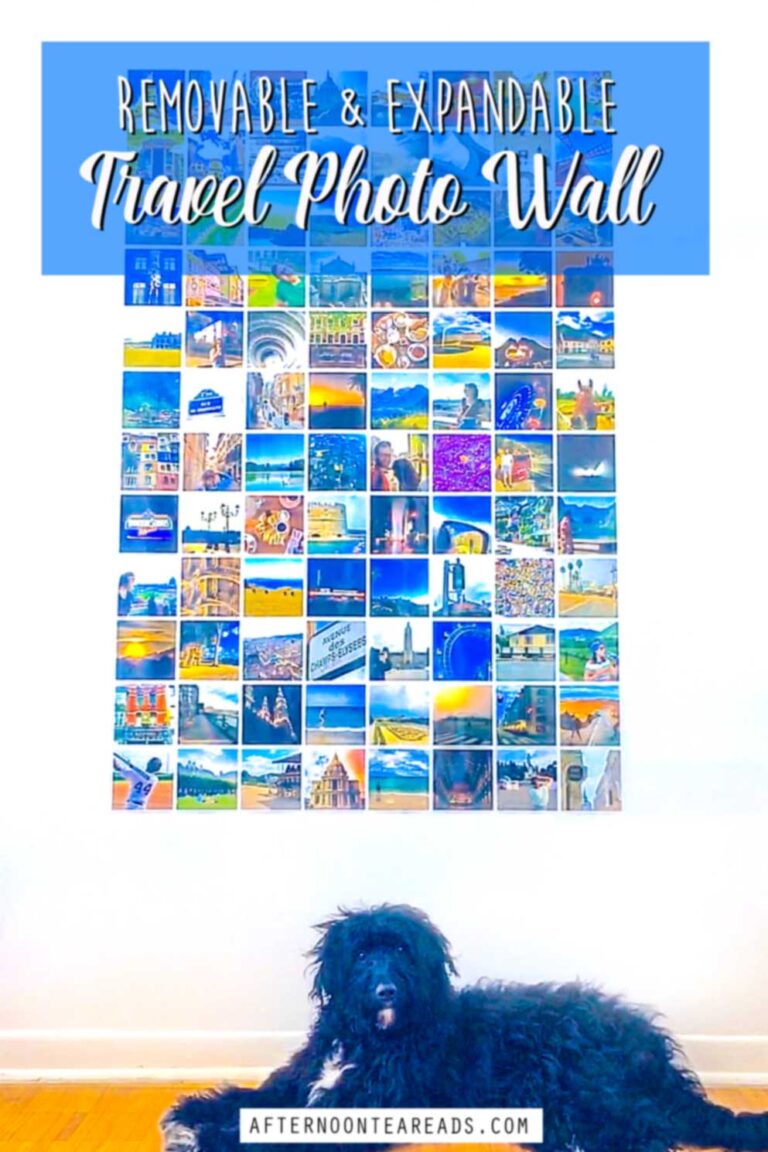
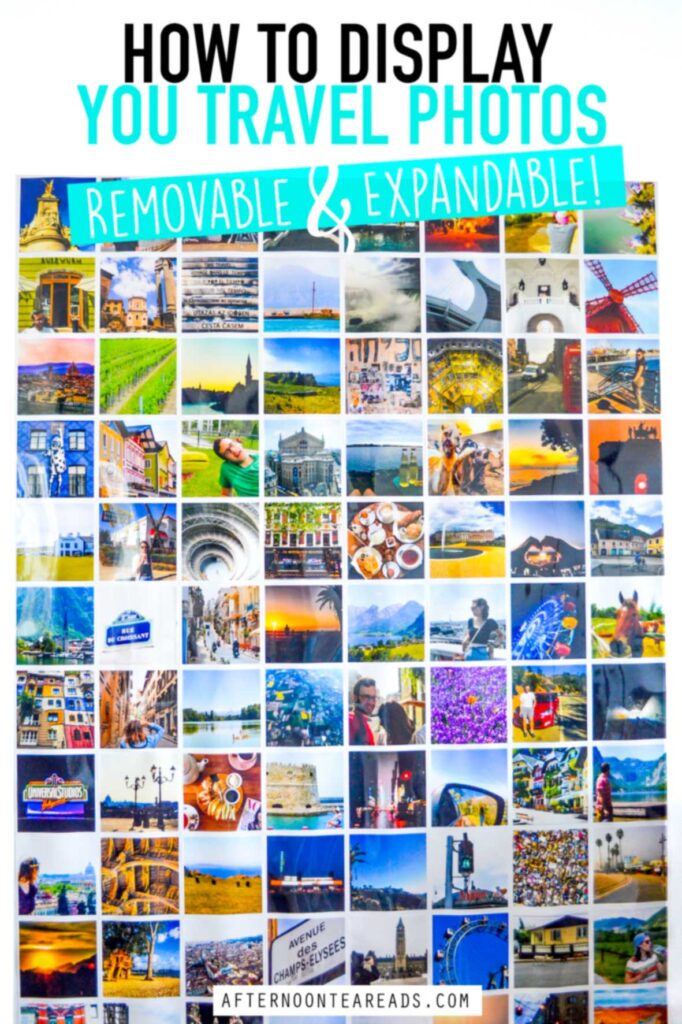
How To Make A Removable Photo Wall (Perfect For Travel Photos)
My removable photo wall is an inexpensive and adaptable way to display your favourite travel photos. This is the ultimate gallery photo wall to showcase a large number of photos at a relatively low cost. You can also continuously add photos, expanding the photo wall, as you travel to new places.
Psst! This blog post contains affiliate links in it which sends me a bit of extra money if you use them… at no extra cost to you!
Why You Need A Removable Photo Wall?
I’m the person that goes on vacation and snaps at least 500 pictures… in one day alone… The only problem with taking so many photos on vacation? There’s no way to display that many photos all at once, especially without breaking the bank.
I could blow up, print, and frame my absolute favourite ones. But you can only do that to so many photos. You’ll run out of wall space pretty quickly this way, not to mention the high cost of buying that many picture frames.
I also enjoy making photo books to recap the trip (I like Shutterfly). But, how often do you take those out to look at? I wanted something that I could walk by every day, look at, and bring me back to the best moments on vacation. So I needed to find a better solution.
So I had to come up with my own solution…
(p.s. see more ways to display your travel photos in my post!).
Making A Removable Gallery Photo Wall
The removable gallery photo wall was born with inspiration from your Instagram wall… I really like the clean and uniform look of an Instagram profile (p.s. follow me on mine!). It’s also similar to the removable photo tiles for walls… but those are really expensive.
The only costs for my removable gallery photo wall was a few materials and the prints themselves. The key to making it removable is using double sided removable tape. This way, you can add photos until you run out of wall space or even easily swap photos.
DIY Photo Wall Ideas: Which Photos To Choose
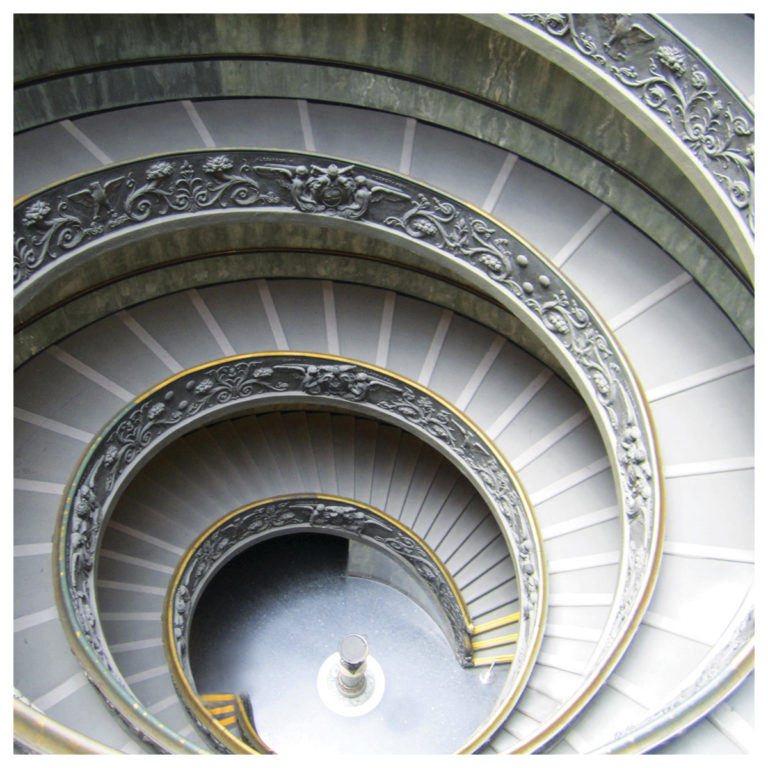
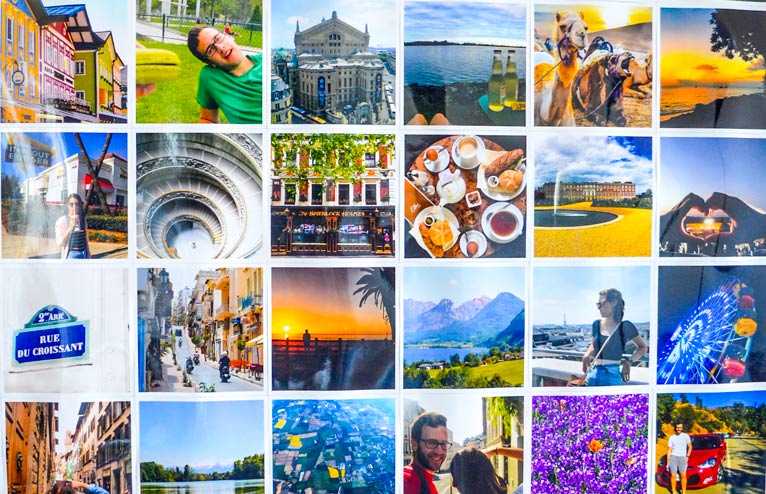
Choosing the photos to display is the best part about a photo wall. You can choose all your favourite travel photos, there’s no having to choose your top 3 out of 50.
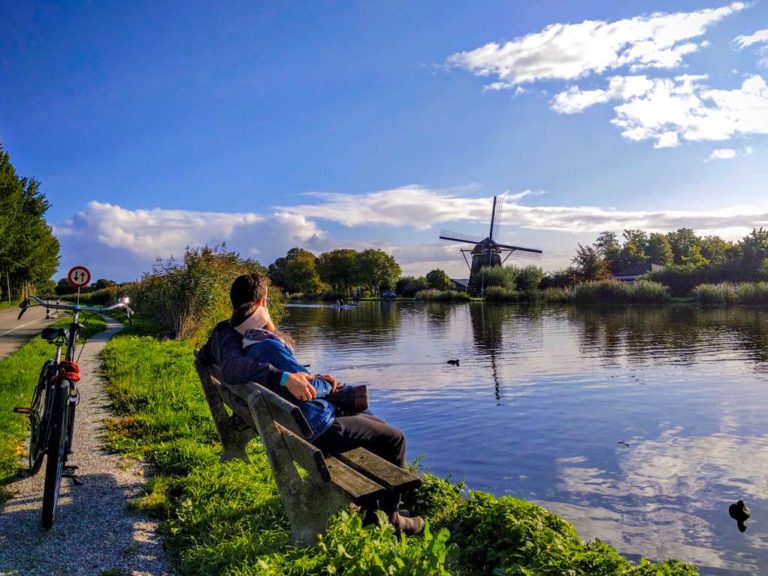
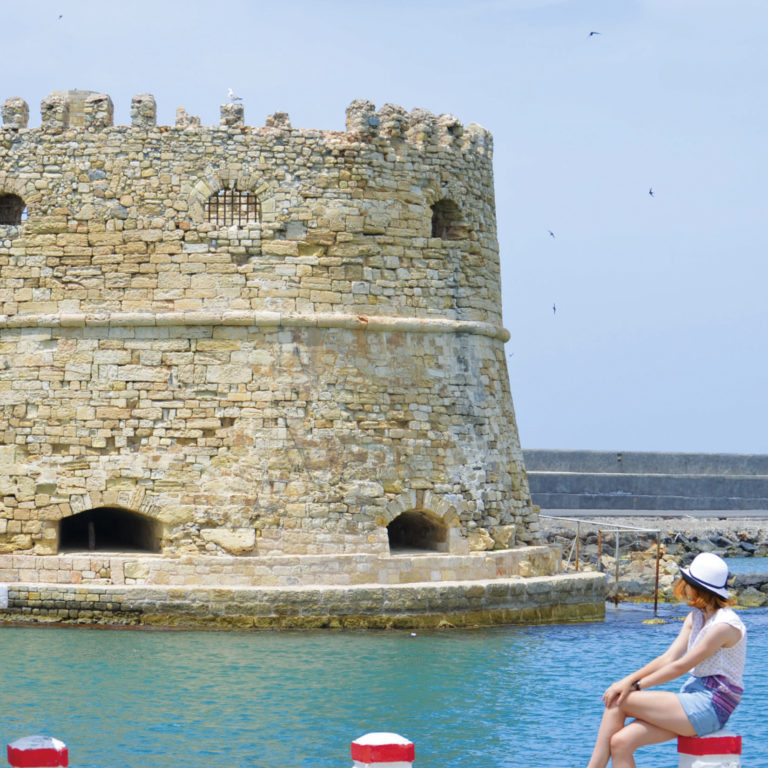
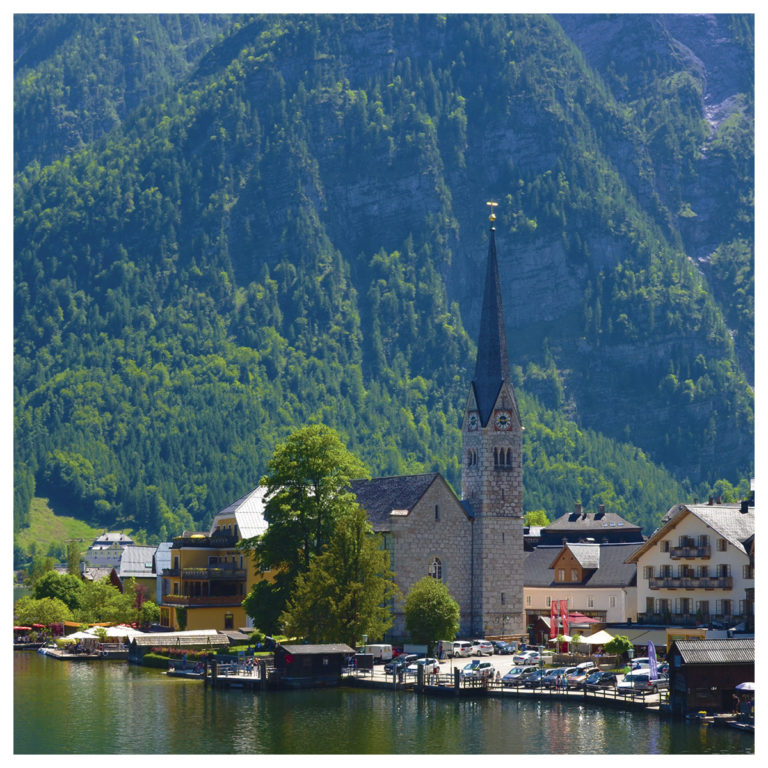
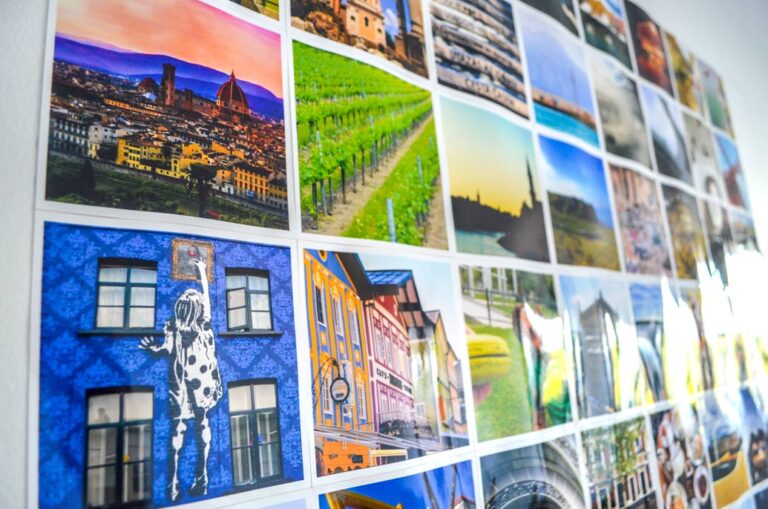
For the gallery wall to look aesthetically pleasing, I tried to mix up the contents and perspectives of each photo. For example, I printed some closeups, landscape, and others with us in them!
Never forget your favourite travel memory: keep track of your travels every day with my digital and printable travel journal. Use it on the go on your phone or tablet, or print it out!
Editing & Cropping The Photos
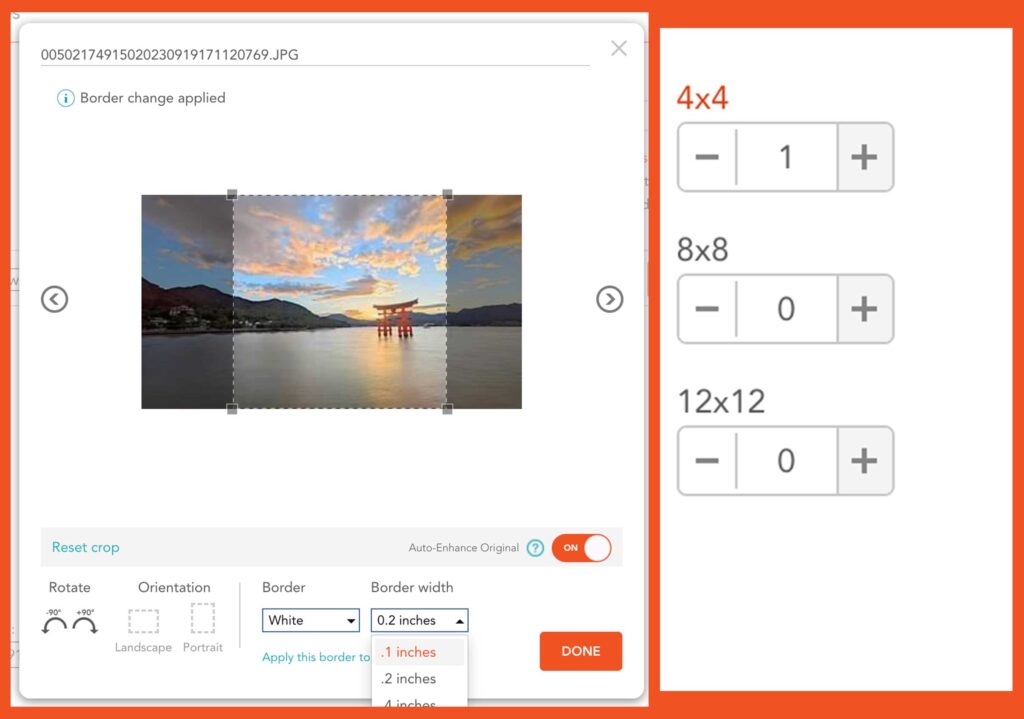
For you gallery wall, you will have to edit your photos before printing them. You’ll want to crop all your photos into a square aspect ratio (I went with 5×5 and loved the look). But see what size your printing studio offers.
I also added a white border to my prints, which added a nice separation between each photo. This way, the gallery wall doesn’t become too overwhelming.
*Depending on where you’re printing your photos, they might have an option to add a white border automatically to your prints. And you can sometimes crop your photo directly on the printing page as well.
Printing The Photo Tiles For Wall
There are a few places that print photos in a square aspect ratio. I used Costco, but they’ve since closed their photo studio moving it to Shutterfly.
Shutterfly offers square prints in 4×4, 8×8, and 12×12 sizes. You can also crop your photo directly on their website and add a white border. Visit Shutterfly.
Another important choice you have to make when printing is whether you want a glossy or matte finish.
I printed the photos with a glossy finish, because that’s my default choice for printing photos… but I regret it. When photos are on display on the wall, the glossy finish adds a lot of glare. If I were printing them again, I’d choose a matte finish to avoid this problem.
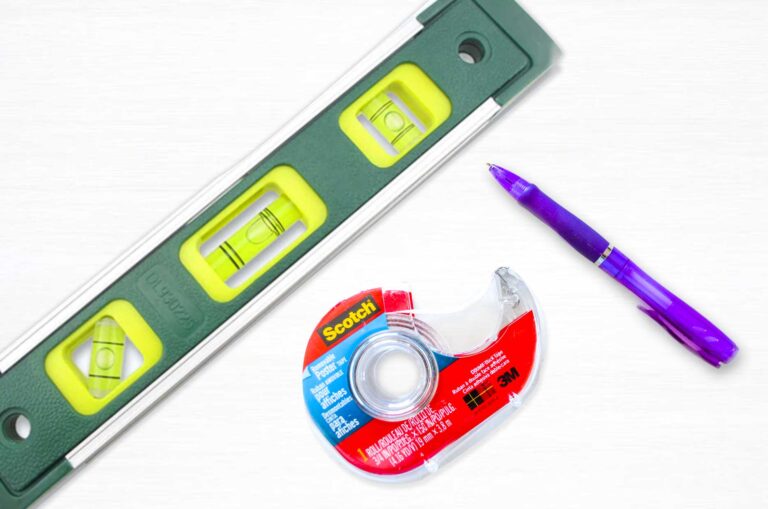
What You’ll Need For Removable Wall Stickers Photos
There are a few basic items you’ll need to make your removable photo wall. Most of these should be easy to find at your local store or even on Amazon.
Double Sided Removable Tape
This is what makes your travel photo wall expandable and removable!
It’s important that you buy double sided removable tape and not just tape that’s double sided or removable. It’s also called poster tape.
With poster tape, you don’t have to fold over the tape or worry about ripping off paint when you take them down… possibly ruining the print itself.
I’ve now moved my photo wall three times now with the same tape! Sometimes I’ll have to add a bit more to certain photos, but not that much!
A Level To Make Sure Your Photo Wall Is Straight
A level might just be the most important item you need because you’ll want to make sure the prints are straight on your wall.
The worst feeling is putting up 50 prints, stepping back to admire your work, and then realizing it’s not straight at all.
Putting Together Your Removable Photo Wall
This is probably the easiest DIY you’ll ever do.
With your level, draw the outline of your removable photo wall. You really only need to draw 2 connecting lines but you can level out all four sides if you want. This is a good idea to get a visual of the space and how big your photo wall will be (mine is 7 x 12).
To place the photos, you can either decide to wing it, or plan out where each photo will go (by setting it up on the floor first).
My strategy was to not place two to similar photos right next to each other. For example, I alternated between closeups, landscapes, and photos with people in them.
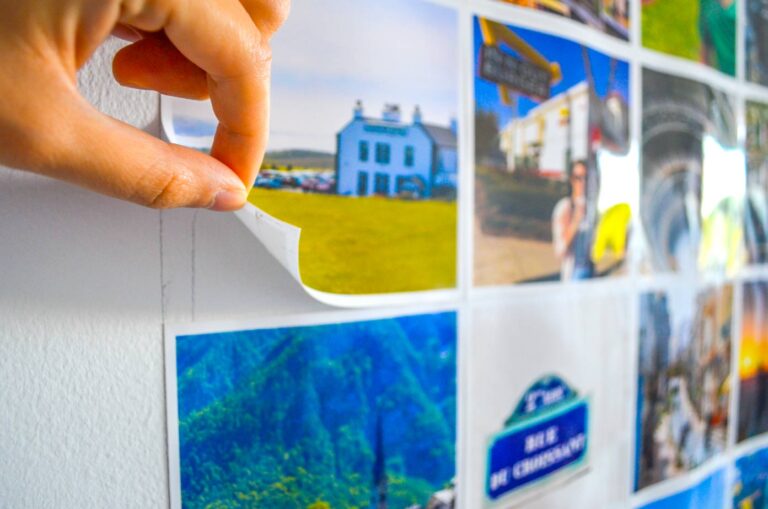
To stick the photos to the wall, rip off a piece of double-sided tape that’s about 4 inches long (a bit shorter than the length of the print). Place 4 strips along each edges of the print. Align the print to the corner and stick it on when it’s straight.
Repeat this step for all your prints. And Voila! Your photo wall is complete!
Upgrade Your Photo Wall
If you want to make your prints last longer and give your wall a more ‘finished’ look, you can order a large custom frame for all your prints.
The photos inside the frame would still be removable, but it does complicate things as you have to take down the frame and open it each time. But I’ll admit, I love the look of an epic large frame! It’s just so grandiose.
But getting a frame this size will cost you as it will also have to be a custom size!
Related Posts
- 7 Creative (& Affordable) Ways To Display Travel Photos
- How To Take Group Travel Photos By Yourself: My Secret Hack
- How To Plan Your Vacation In 9 Simple Steps
Click Image To Share Or Save Post For Later


Thanks for this! I’ve been wanting to do this for a while but reading how simple your process was is inspiring me to get on with it!
Hi Crissey!
YES YOU WILL NOT REGRET THIS!!! I cannot tell you how much I love seeing my photo wall everyday and growing it after every trip! So glad I could help inspire you to start this project 😀