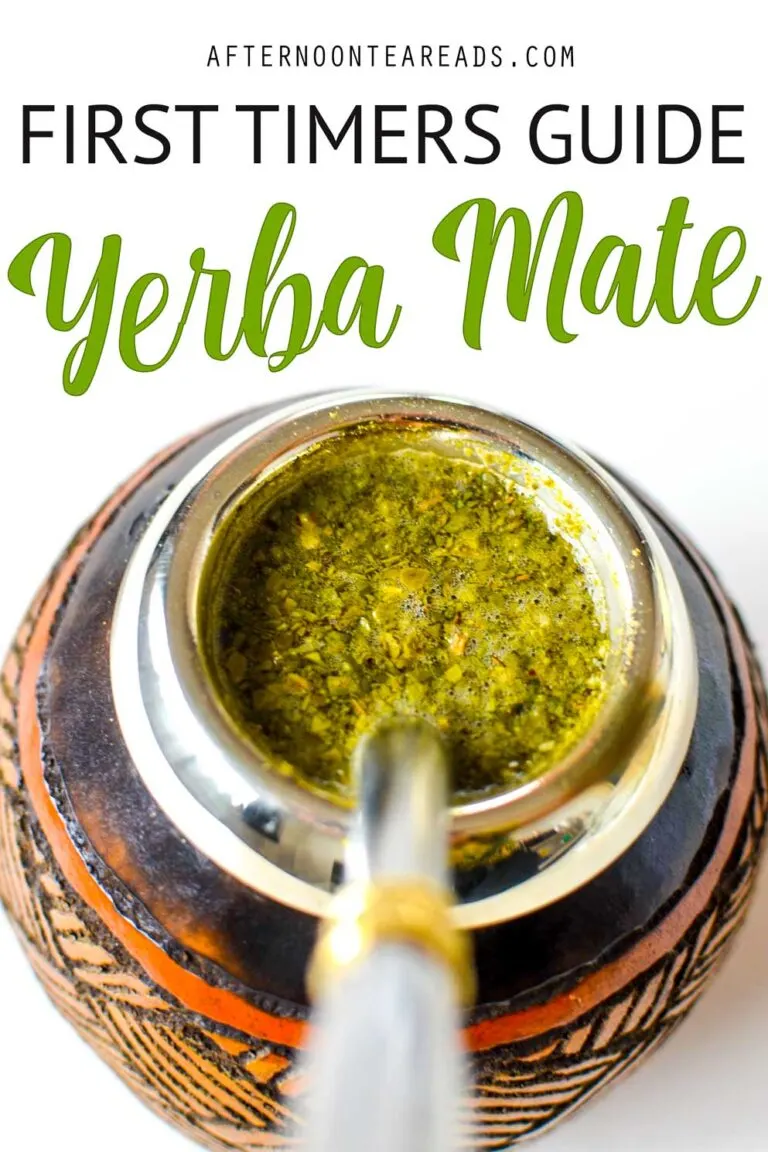
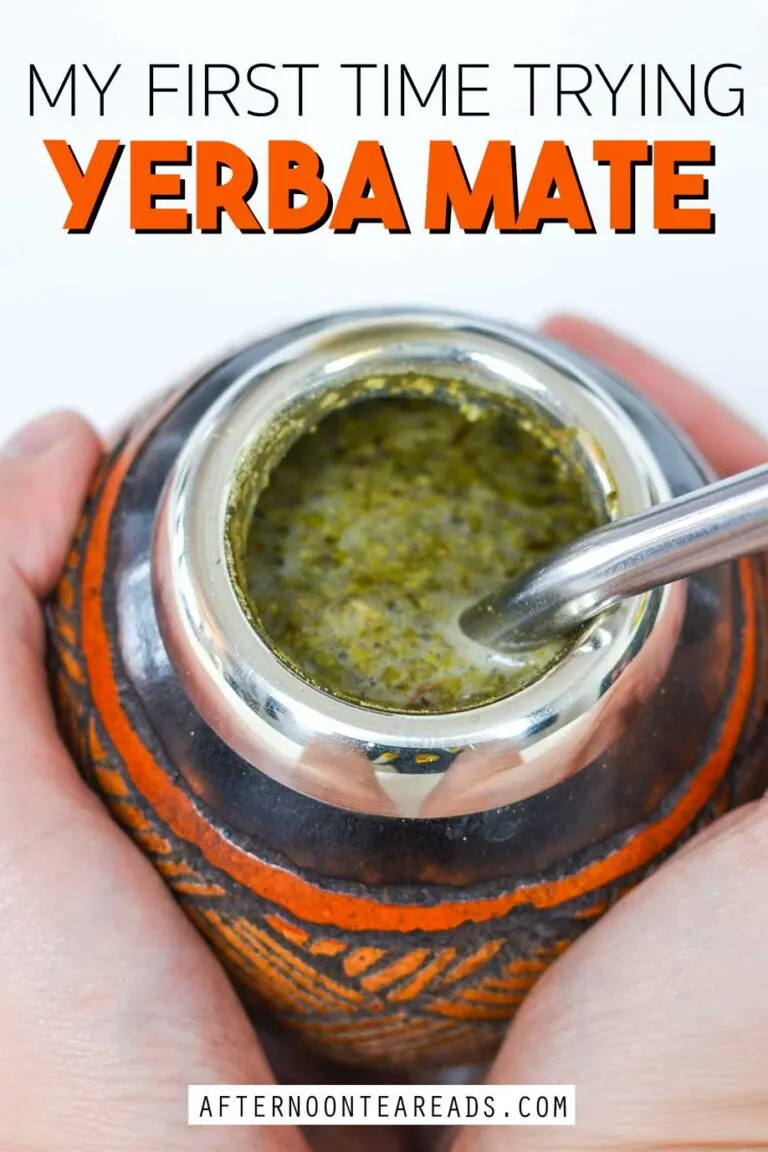
Making and trying Yerba mate tea for the first time is very different from any other tea experience. I’ve never enjoyed tea like this before, where I had to follow instructions to make it and even buy new tea gear.
You drink it out of a specific cup called a gourd, with a straw called a bombilla. The tea sounded amazing though, it has higher caffeine levels than black tea more antioxidants than green tea!
The choice was obvious, I had to buy my own bombilla and gourd to try it myself and see what all the fuss was about. Even if you don’t have a bombilla and gourd though, I gave some alternative ways to make Yerba mate tea for the first time to see if you like before investing too much!
Psst! This blog post contains affiliate links in it which sends me a bit of extra money if you use them… at no extra cost to you!
What Is Yerba Mate?
To get you up to speed, Yerba mate is an herb from South America. This drink is HUGE there. It’s really meant as a social tea, you’re drinking and refilling your gourd as you pass it around to friends and family.
As I’m writing this in quarantine (during the COVID-19 Pandemic), I did not get to experience the social aspect of Yerba mate. But I’m actually rather okay with this as I don’t like sharing drinks…I’m kind of a germophobe that way.
Buying The Proper Materials – Yerba Mate First Time
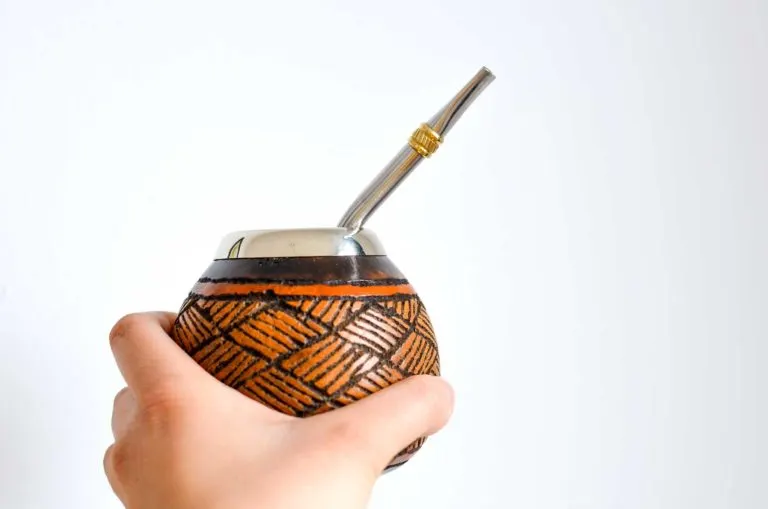
The traditional way to enjoy Yerba mate is with a gourd and a bombilla. Buying the bombilla was easy, there aren’t too many options. But, the gourd was another thing…
You can choose from a traditional calabash gourd (hollowed out sqaush), to either a wood, ceramic, or even silicone one these days. Because I wanted to go as traditional as possible, I found this traditional gourd and bombilla from Tealyra. I was also able to buy my Yerba mate tea from them and it ships from Canada.
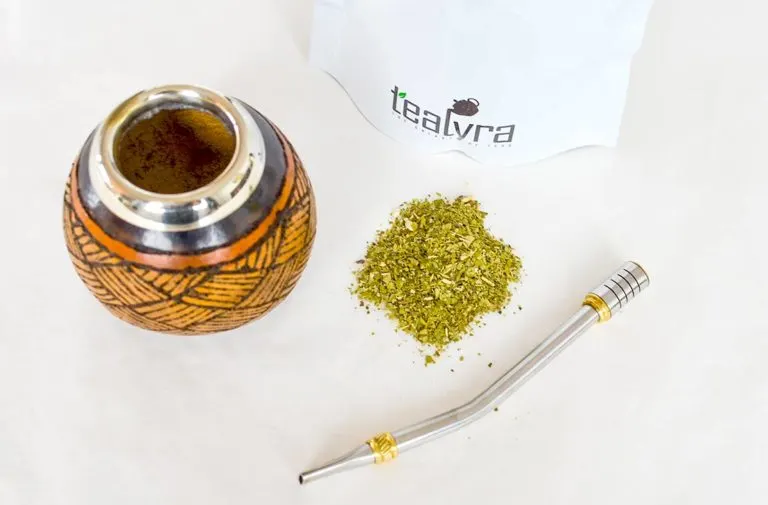
Apparently, the benefit to a calabash gourd is that it soaks up the flavours of the tea. The downside though is that it’s harder to care for. Like, you can’t use soap to clean it unless you want your tea to taste like soap! You’ll have to settle for only using hot water. You also have to make sure it dries properly otherwise you risk it growing mould… yay!
I noticed from my gourd that it also adds A LOT of smokiness flavours to the tea. The tea already has a bit, but the gourd is filled with it because of how it’s made.
I swear, when I washed it for the first time my entire (very small) kitchen smelled like a fire pit. So, if you don’t like smoke flavours, I’d recommend sticking to a ceramic or silicone gourd for trying Yerba mate tea for the first time.
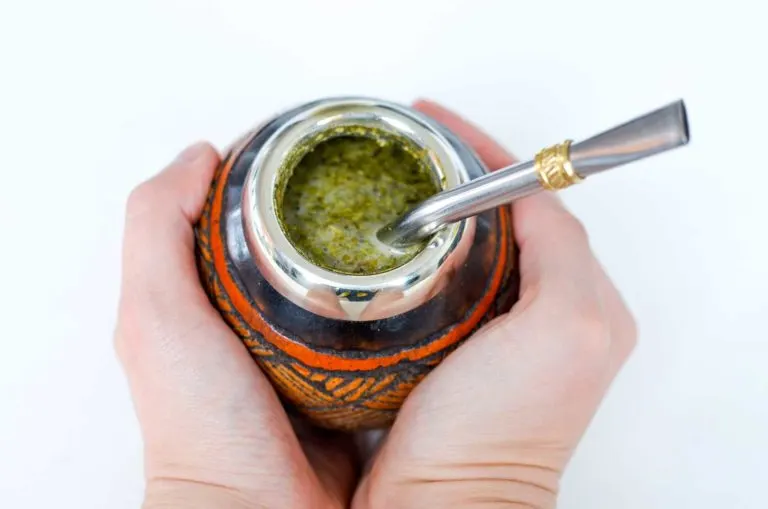
Gourd Rim Vs. No Rim –
You might have noticed that when you buy a calabash gourd, you can buy one with a metal rim or without one.
I tried to research what the difference was between having an alpaca metal rim and not, but I still don’t know…? Does anyone? I’d really love to know if there’s a reason behind it.
My conclusion was that it’s to make the mouth smaller (in case you have small hands like me) for when you shake it (more on how to make mate tea in a bit!). But, to be honest I wouldn’t be surprised if it was just for looks.
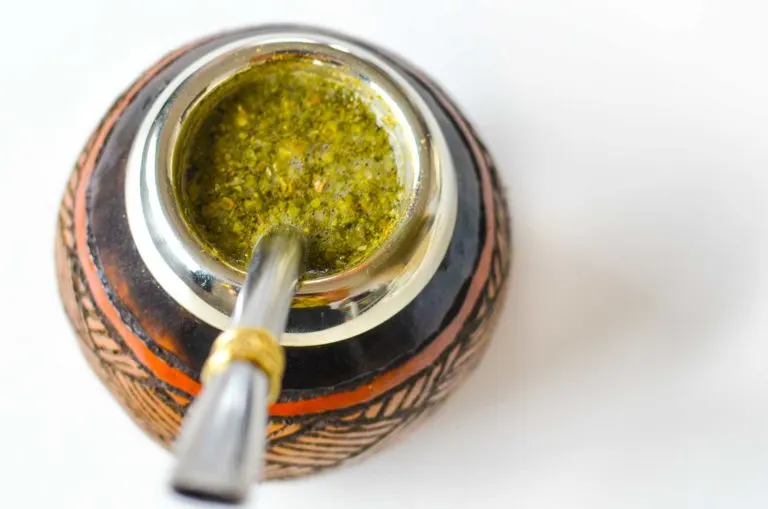
First Impressions When I Received My Gourd & Bombilla!
Like I said, the gourd smelled of delicious smokey aromas. I loved it, but it was really strong. I was also surprised at how light it was. When I read that it’s made from a dried out squash, I was expecting something quite a bit heavier. It’s almost as light as a feather!
I also wasn’t expecting the inside of the gourd to be as “raw” as it was. And when you wash it, you’re supposed to use a spoon to make sure all the tea is gone, but you scrape away some of the gourd each time. It’s kind of gross in my mind.
The bombilla on the other hand I saw so much potential for! It’s not only good for drinking Yerba mate, but why can’t I use it for all my other teas instead of more modern steeping methods? I can brew grandpa style and not worry about drinking any rogue loose leaves. Plus my dentist will be happy as I won’t be staining my pearly whites with my black tea anymore!
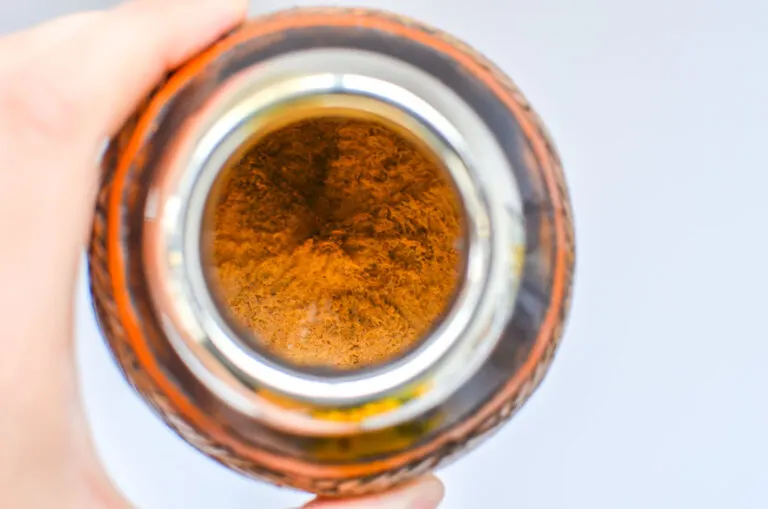
How To Make Mate Tea – My First Time Preparing Yerba Mate
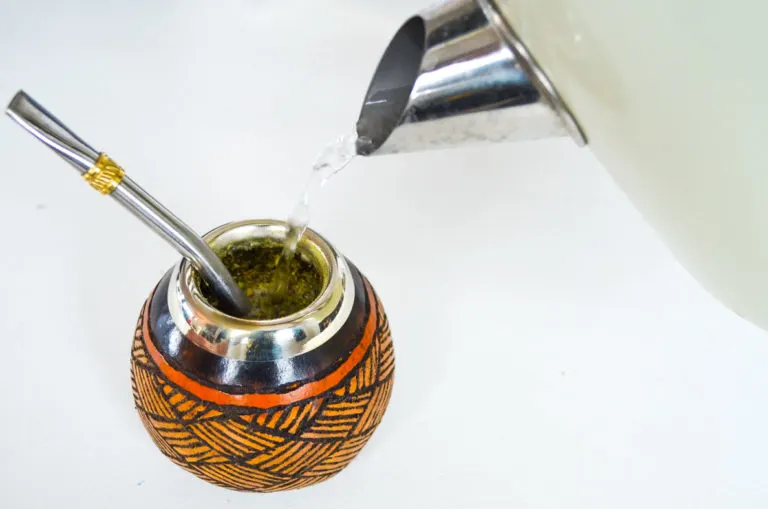
If you follow a traditional recipe, it says to fill your gourd 2/3 with Yerba mate… that’s A LOT of tea! I didn’t realize how much tea it actually was until I kept spooning it into the gourd.
Like what if I don’t like it, or I can’t drink that much of it, and then it all goes to waste?
So, I couldn’t bring myself to fill it with that much tea, I only bought 100 grams to begin with. I ended up filling it about 1/3 of the way instead (which is still a lot!).
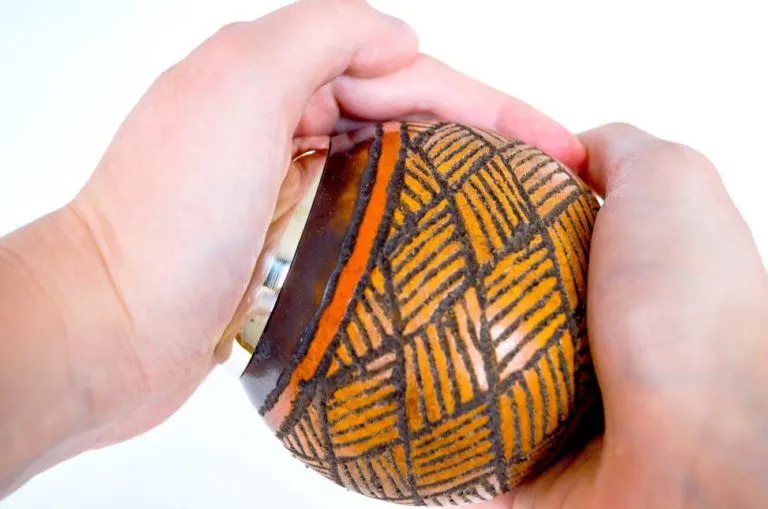
All the other steps were fairly straight forward. Shake it up so that all the dust particles and smaller pieces come to the top. This is an important step so that these smaller pieces don’t get stuck in your bombilla.
After shaking the leaves, I poured in cold water first to prepare the leaves for the hot water. I also let my boiling water cool a bit before pouring that in as well.
The only problem was my bombilla placement. I only read after that you’re not supposed to move it once it’s in place. So I had a few pieces come up with my tea… I didn’t enjoy that very much.
How To Drink Yerba Mate Tea For The First Time
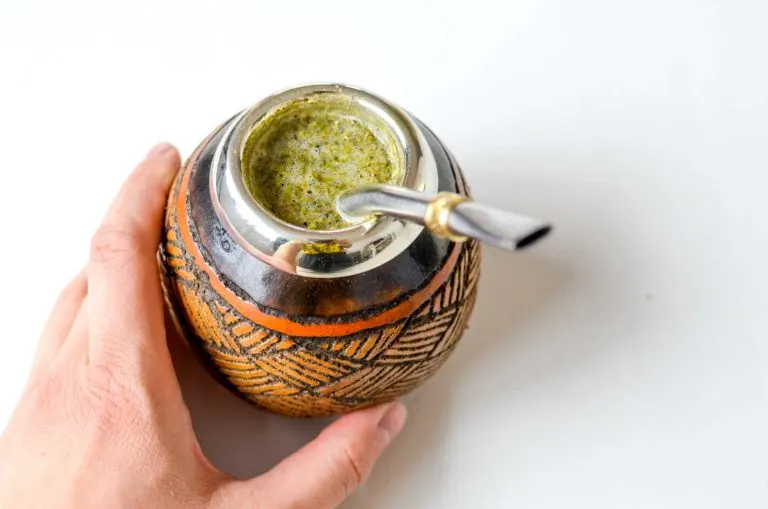
It is STRONG!! The smokey flavours of the gourd were all I tasted. It was like I was inhaling smoke, and you got a hint of tea at the end. It is possible that the strength of the smoke was because I didn’t use enough tea to balance it out.
But, I can’t imagine what would’ve happened if I did use more tea. The caffeine hit me like never before. And it’s not that I’m not used to caffeine, I drink coffee and black tea several times throughout the day.
But the Yerba mate gave me an insane boost. I was seriously jumping off the walls.
Trying Different Methods To Make Mate Tea
I found that drinking Yerba mate out of the gourd didn’t let me really taste the tea. So, I wanted to try brewing it another way to cut all the flavours from the gourd to see what this tea actually tasted like.
These are also good options if you’re making Yerba mate tea for the first time and don’t want to invest in a gourd and bombilla. It’s smart to see if you even like the tea first!
How To Make Mate Tea In The French Press
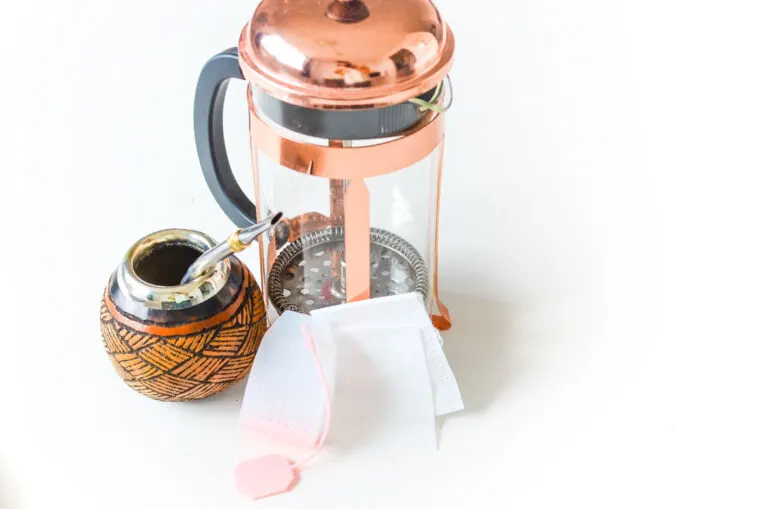
I read online that you can also use your French press to brew Yerba mate tea, and I was pleasantly surprised with the outcome.
I used a similar amount of tea that I would in the gourd, but now I’m also adding it a lot more water. My French press makes four cups, so I wasn’t constantly refilling it (as I was with the tiny one cup gourd).
I still followed the instructions to add cold water first and let the boiling water cool down.
I enjoyed the tea a lot better than when I drank it from the gourd. It brewed quite nicely, and would definitely use the French press again – especially if I want to brew a large amount.
Bonus Cold Brew The Next Day!
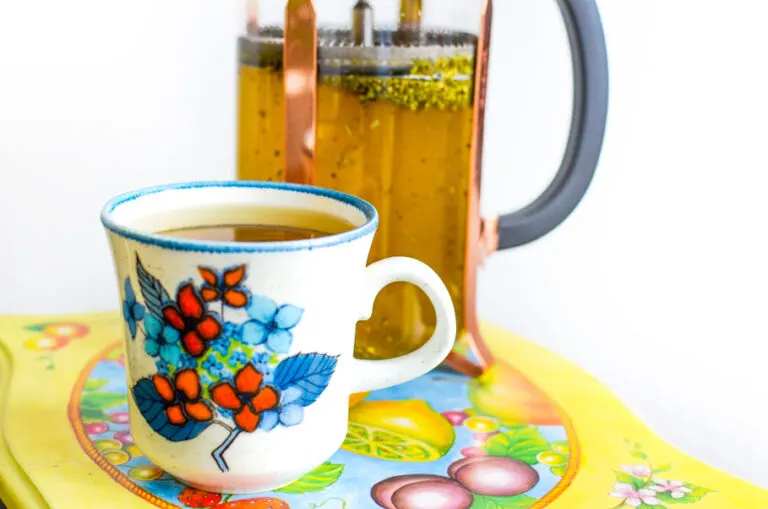
This was my favourite part about using the French press to make yerba mate tea for the first time. After I had a few cups in the morning, I refilled the press with water and put it in the fridge to let it steep overnight.
Because you use so much tea, it was still very strong even after a few cups.
Yerba mate makes a very refreshing cold brew tea. Plus, this way my tea was already ready the following morning.
Can You Make Yerba Mate In Tea Bags?
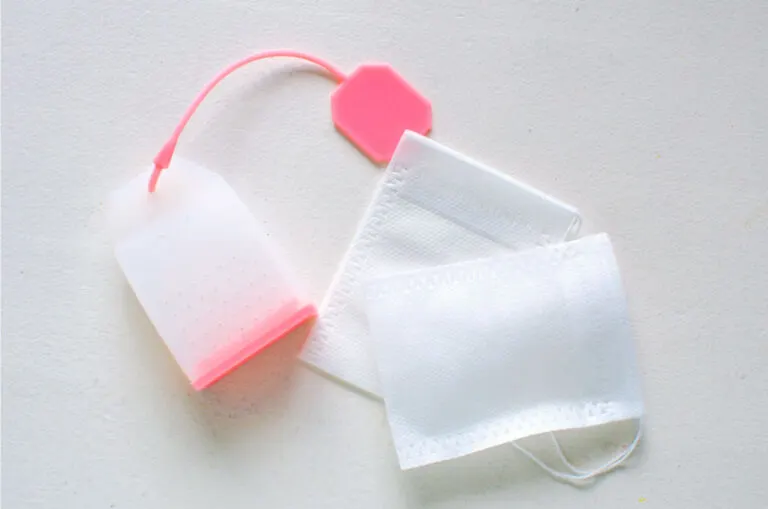
If I was just making for myself, the French press is a bit much. So, here’s how to make mate tea in bags. I used a mesh tea bag (like this one on Amazon), and filled it with only half a tablespoon of tea, this is a lot less than normal.
It made the tea a lot weaker, but to me, this was the perfect amount. The tea is quite strong and bitter, that if you’re not used to, can be overwhelming.
I think this is the perfect way to get used to drinking Yerba mate tea for the first time. And, I didn’t get those crazy caffeine spikes like I did from the gourd and French press. Even with using only half a tablespoon, I’m able to refill my cup several times in the morning before I need to add more tea.
If you have reusable silicone steepers, those can work too to make Yerba mate in tea bags. Just make sure the holes are small enough that tea leaves won’t escape.
Final Thoughts On Yerba Mate First Time
I enjoy this tea a lot, it’s like a more robust and complex green tea. It didn’t have as much as the bitterness because it had some other complexities to it.
When I make this tea from now on, I don’t really use the gourd. The smoke was just too strong for me. The tea itself still still has a smokey flavour to it, but it takes a back seat when you don’t make it in the gourd.
P.S. They started making unsmoked Yerba mate if the smoke is still too strong for you!)
I don’t know why they say to make it with so much mate anyway, to me that’s just too much commitment. What if I don’t end up drinking it all day, now all that mate goes to waste… I’d rather make it with less and then if I find it getting weak, I’ll add more (like making grandpa style tea!).
As I said, I find the bombilla very useful even for drinking other teas. I love drinking grandpa style and this just makes it that much easier.
What You’ll Need To Make Traditional Yerba Mate
Related Posts!
- Read about the basics you should know about Yerba mate
- Read about the benefits and risks of Yerba mate tea
- 5 Caffeinated Teas To Try Instead of Coffee
- Top 10 Best Teas For Anxiety To Stay Calm & Stress Free!
Click Image To Share Or Save Post For Later
Last update on 2025-05-28 / Affiliate links / Images from Amazon Product Advertising API

